

I've long been missing an important feature in Ghost, my blog publishing platform: there's no inherent feature to create a post archive, or a list of all my posts in one place. I've gotten several requests for this feature, so I finally decided to just sit down and develop it using the Ghost Public API and a tiny bit of jQuery.
What follows is how I built my post archive the first time around. I have since replaced it with a Ghost-generated structure using the #get helper to solve some caching issues, but I like the look of the following system better. Please note that this post was written using Version 0.11.4 of Ghost and so it may change as Ghost changes.
Using jQuery and Ghost
Setting Up the Ghost Page Template
The first problem I had was that this page (the archive page) was not going to be either a post or a static page using my theme's default template. It was going to be a page, but it needed its own template, one that was very stripped-down.
Ghost supports using custom page templates by having a .hbs file that is prefixed with "page-". So, in my Ghost theme's root folder, I now have a file called page-all-posts.hbs, which looks like the following:
{{!< default}}

{{! This is a page template. A page outputs content just like any other post, and has all the same
    attributes by default, but you can also customise it to behave differently if you prefer. }}
{{#post}}
    <header class="post-header">
        <h1 class="post-title">{{title}}</h1>
    </header>
    <section class="post-content">
        {{content}}
        <div id="postLoading">
            <h3>Loading post archive...</h3>
        </div>
        <div id="postList"></div>
    </section>
{{/post}}
The template is pretty darn simple. It has the "normal" Ghost stuff, like the {{#post}} tag, as well as the page title and content. The difference is what happens at the end: the div "postList" is where we will populate the list of all posts.
However, just having the template doesn't help us; I also need to create a static page with the same url as the name of the page template file. In my Ghost admin window, I created a new post, marked it as a static page, and gave it the URL "all-posts".
With that template and page set up, we can now write the jQuery to get us the actual posts.
Querying for All Posts
The first thing we have to do in order to display all posts is to get all the posts. I've already blogged about something like this when I implemented the 5 random posts sidebar, and so this solution will be very similar.
Ghost exposes a public API that can be used to query posts, users, and tags. In this case, I only want posts and I specifically want all my posts, so my query is very easy:
$(document).ready(function () {
    $.get(
        ghost.url.api('posts', {limit: 'all'})
    ).done(onSuccess);
});
The onSuccess method is really just a pass-through to another method, called showArchive:
function onSuccess(data) {
    showArchive(data.posts);
    .... //Here's the code that does the 5 random posts sidebar
}
The real tricks begin when we implement the showArchive method.
Displaying the Posts
When we query for posts using the Ghost API, the posts object which is returned looks like this (I have simplified this schema):
"posts":[{
    "id":1,
    "title":"Welcome to Ghost",
    "slug":"welcome-to-ghost",
    "markdown":"...",
    "html":"...",
    "status":"published",
    "created_at":"2014-11-17T19:02:27.147Z",
    "created_by":1,
    "updated_at":"2014-11-17T19:02:27.147Z",
    "updated_by":1,
    "published_at":"2014-11-17T19:02:27.173Z",
    "published_by":1,
    "author":1,
    "url":"/welcome-to-ghost/"
  }, {
    "id":2,
    "uuid":"ac0a0374-a43c-15c4-391b-128d6bbba7c5",
    "title":"Lorem Ipsum Dolor",
    "slug":"lorem-ipsum-dolor",
    "markdown":"...",
    "html":"...",
    "status":"published",
    "created_at":"2014-11-18T19:02:27.147Z",
    "created_by":1,
    "updated_at":"2014-11-18T19:02:27.147Z",
    "updated_by":1,
    "published_at":"2014-11-18T19:02:27.173Z",
    "published_by":1,
    "author":1,
    "url":"/lorem-ipsum-dolor/"
  }],
From this, I can use the published_at property to get the month and year each post was published.
NOTE: The query we executed earlier already loads the posts in most-recent-first order, so we don't need to do any further ordering.
So, here' the outline of what we need the showArchive function to do:
- For each post, get the month and year that post was published.
- Each time the month or year changes, output a new subheader for that month and year.
- For each post, output a link to that post.
Here's the complete function:
function showArchive(posts) {
    var monthNames = ["January", "February", "March", "April", "May", "June",
      "July", "August", "September", "October", "November", "December"
    ];
    var currentMonth = -1;
    var currentYear = -1;
    if(window.location.pathname == "/your-archive-page-url/"){ //Only display on this page
        $(posts).each(function(index,value){ //For each post
            var datePublished = new Date(value.published_at); //Convert the string to a JS Date
            var postMonth = datePublished.getMonth();  //Get the month (as an integer)
            var postYear = datePublished.getFullYear(); //Get the 4-digit year

            if(postMonth != currentMonth || postYear != currentYear)
            { //If the current post's month and year are not the current stored month and year, set them
                currentMonth = postMonth;
                currentYear = postYear;
                //Then show a month/year header
                $("#postList").append("<br><span><strong>" + monthNames[currentMonth] + " " + currentYear + "</strong></span><br>");
            }
            //For every post, display a link.
            $("#postList").append("<span><a href='" + value.url +"'>" + value.title + "</a></span><br>");
        });
    }
}
I fully realize that this is not the best HTML (or Javascript, really), but it suits my purposes for now. Here's a screenshot of what this looks like on my blog:
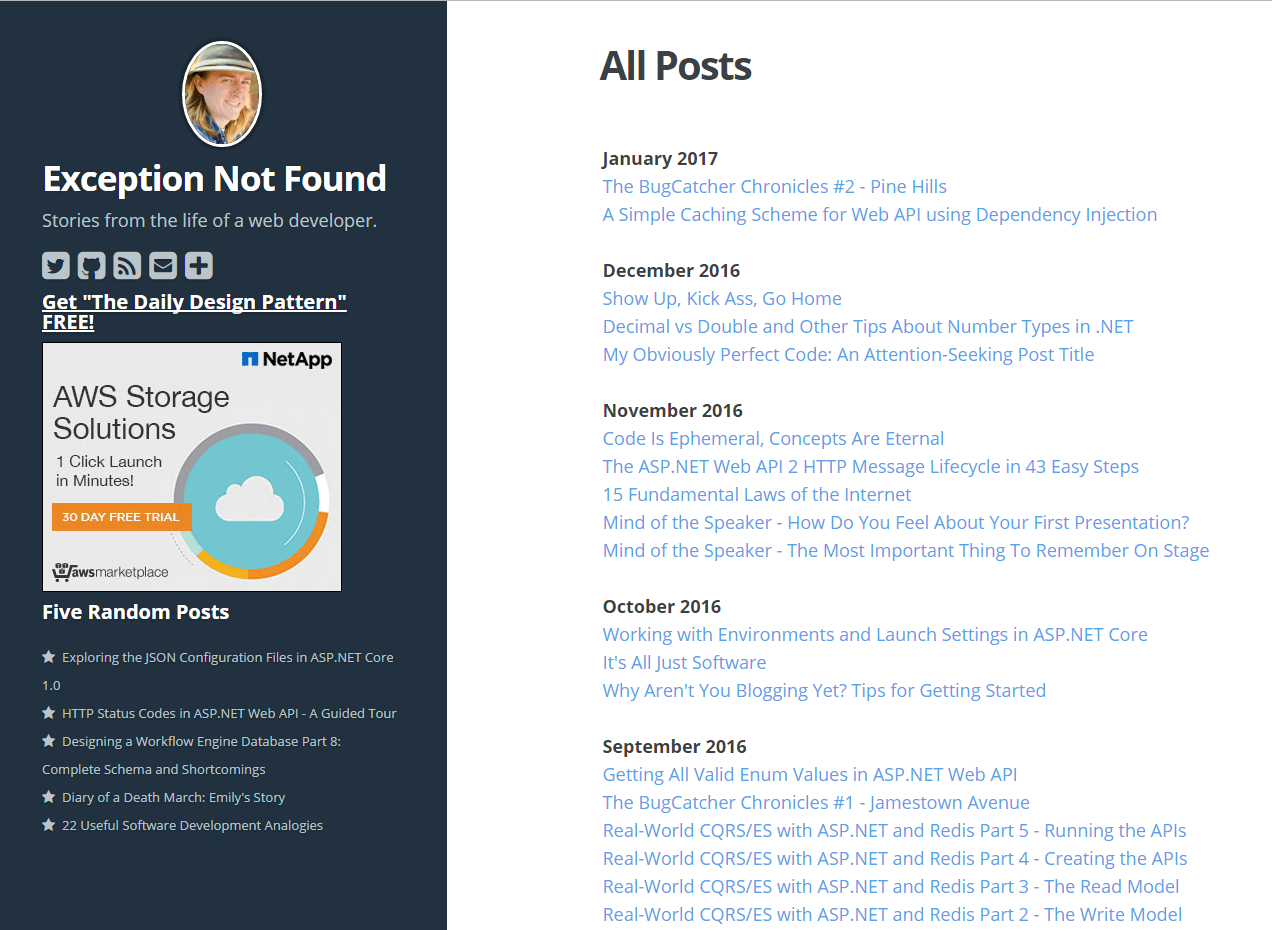
Woohoo! I've got a working solution to show all my posts! Which would be great...except this isn't what I'm actually using now.
Using Ghost Only
The problem is that I use CloudFlare on this blog, and when doing so CloudFlare caches this page before the script has a chance to run. This results in an empty page, which is obviously not what I want. So, instead, I ended up going with a native Ghost solution, which looks something like this:
<div id="postList">
{{#get "posts" limit="all"}}
{{#foreach posts}}
<span>
{{#if featured}}
<span class='fa fa-star'></span>
{{/if}}
{{date published_at format="MMM DD, YYYY"}}:
<a href="{{url}}">{{title}} </a>
</span>
<br>
{{/foreach}}
{{/get}}
</div>
Here's a little breakdown of what this does:
- The {{get}} helper gets me all my posts.
- Within the {{get}} context, the {{foreach}} helper loops through each post.
- Within the {{foreach}} context, the {{if}} helper enables me to check if a particular post is featured, and if so, output a star icon.
- The {{date}} helper allows me to get the post's publishing date and format it.
- Finally, the {{url}} helper and the {{title}} helper output the post's URL and title respectively.
Here's how the native Ghost solution looks:
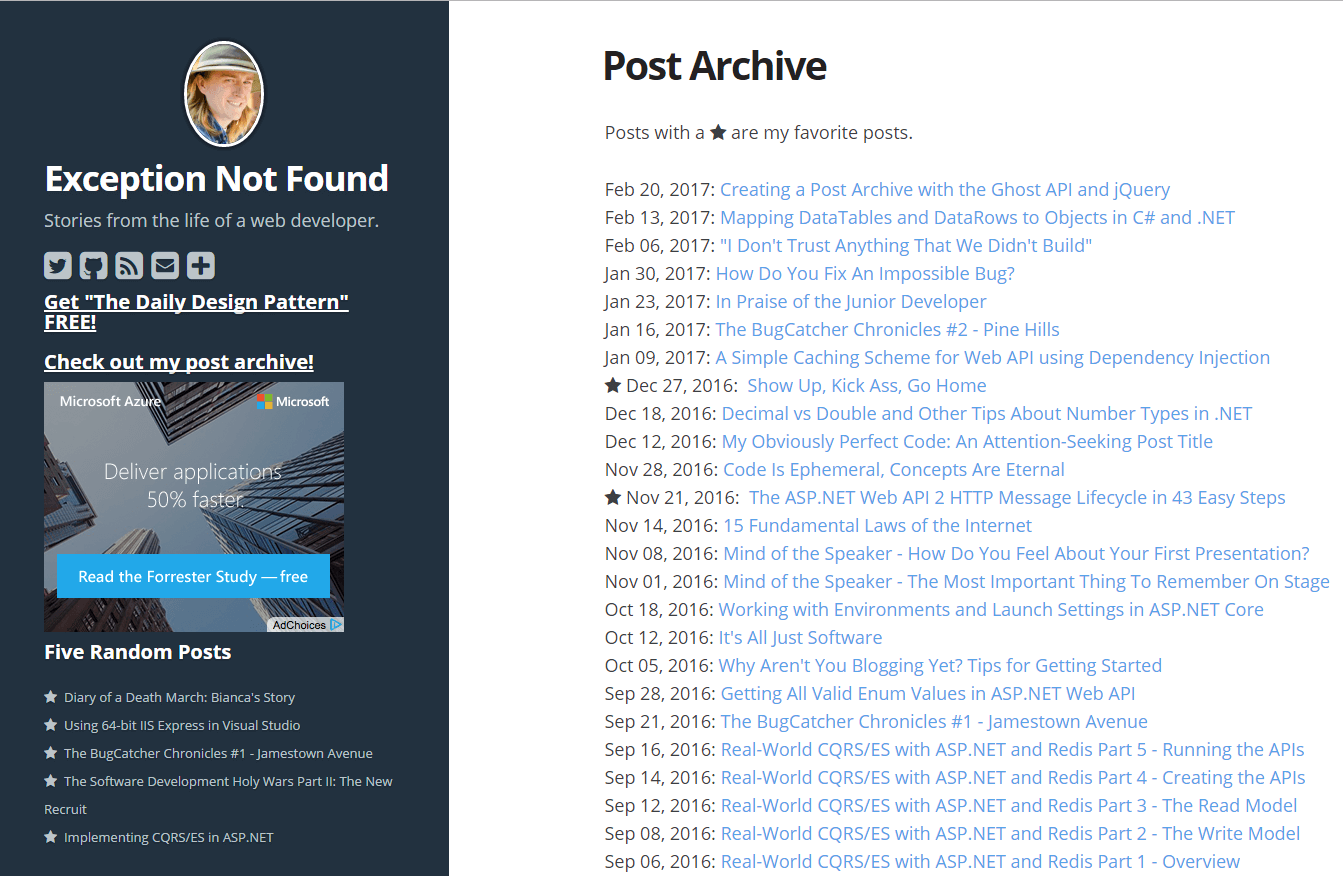
The major downside to the native Ghost solution is that I no longer have the month and year section headers, something I would rather like to have. But, the page is no longer cached by CloudFlare, so it works. Further, this solution is much cleaner than the jQuery solution.
At any rate, now I've got a working page that lists all my blog posts! Check it out!
Summary
Please let me know if you found this post useful, and share other interesting tips about Ghost in the comments! Check out the Ghost documentation to learn about the other helpers they have available.
Happy Coding!