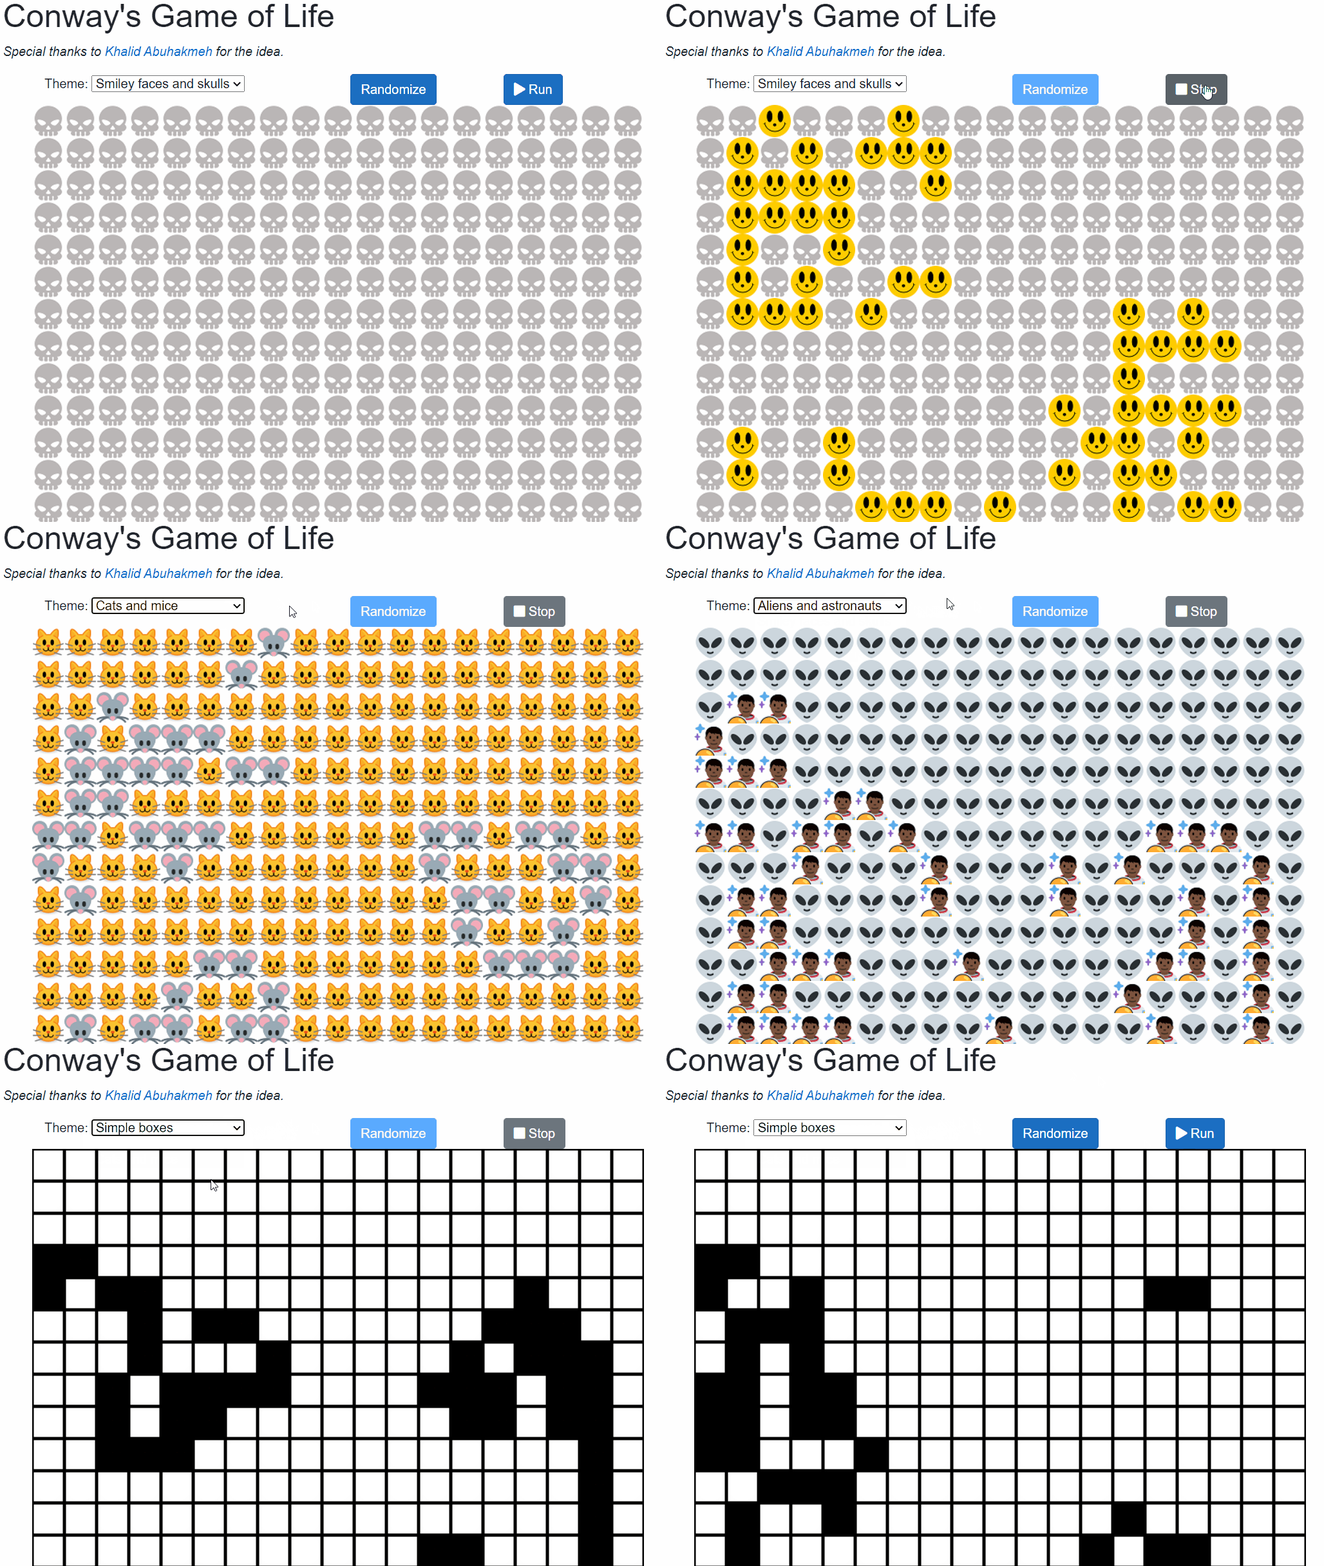
I've been looking for new games to include in my project site BlazorGames.net, and Khalid Abuhakmeh had a perfect one in a post of his from a few weeks ago: Conway's Game of Life.

So I decided to steal his code add that idea to my BlazorGames.net project. In this post, let's see how to build Conway's Game of Life using C# and Blazor!
The Sample Project
As always, there's a sample project for this post available on GitHub.
You can see this sample running right now on BlazorGames.net.
What is Conway's Game of Life?
Conway's Game of Life is a cellular automaton simulation developed by mathematician John Conway in 1970. It takes place on a grid of cells, where each cell can be either alive or dead at any given time.
The state of each cell's neighbors determine that cell's state in the next generation. The game proceeds according to the following rules:
- Any live cell with fewer than two live neighbors dies, as if by underpopulation.
- Any live cell with two or three live neighbors lives on to the next generation.
- Any live cell with more than three live neighbors dies, as if by overpopulation.
- Any dead cell with exactly three live neighbors becomes a live cell, as if by reproduction.
Goals
We want our system to be able to do the following in Blazor WebAssembly:
- Build and run Conway's Game of Life on a 20-by-20 grid. (This size is arbitrarily chosen; the real Game of Life is run on an infinitely-large grid).
- Allow for the user to randomize the starting cell states.
- Allow for the user to click on cells and change their current state at any time during the simulation.
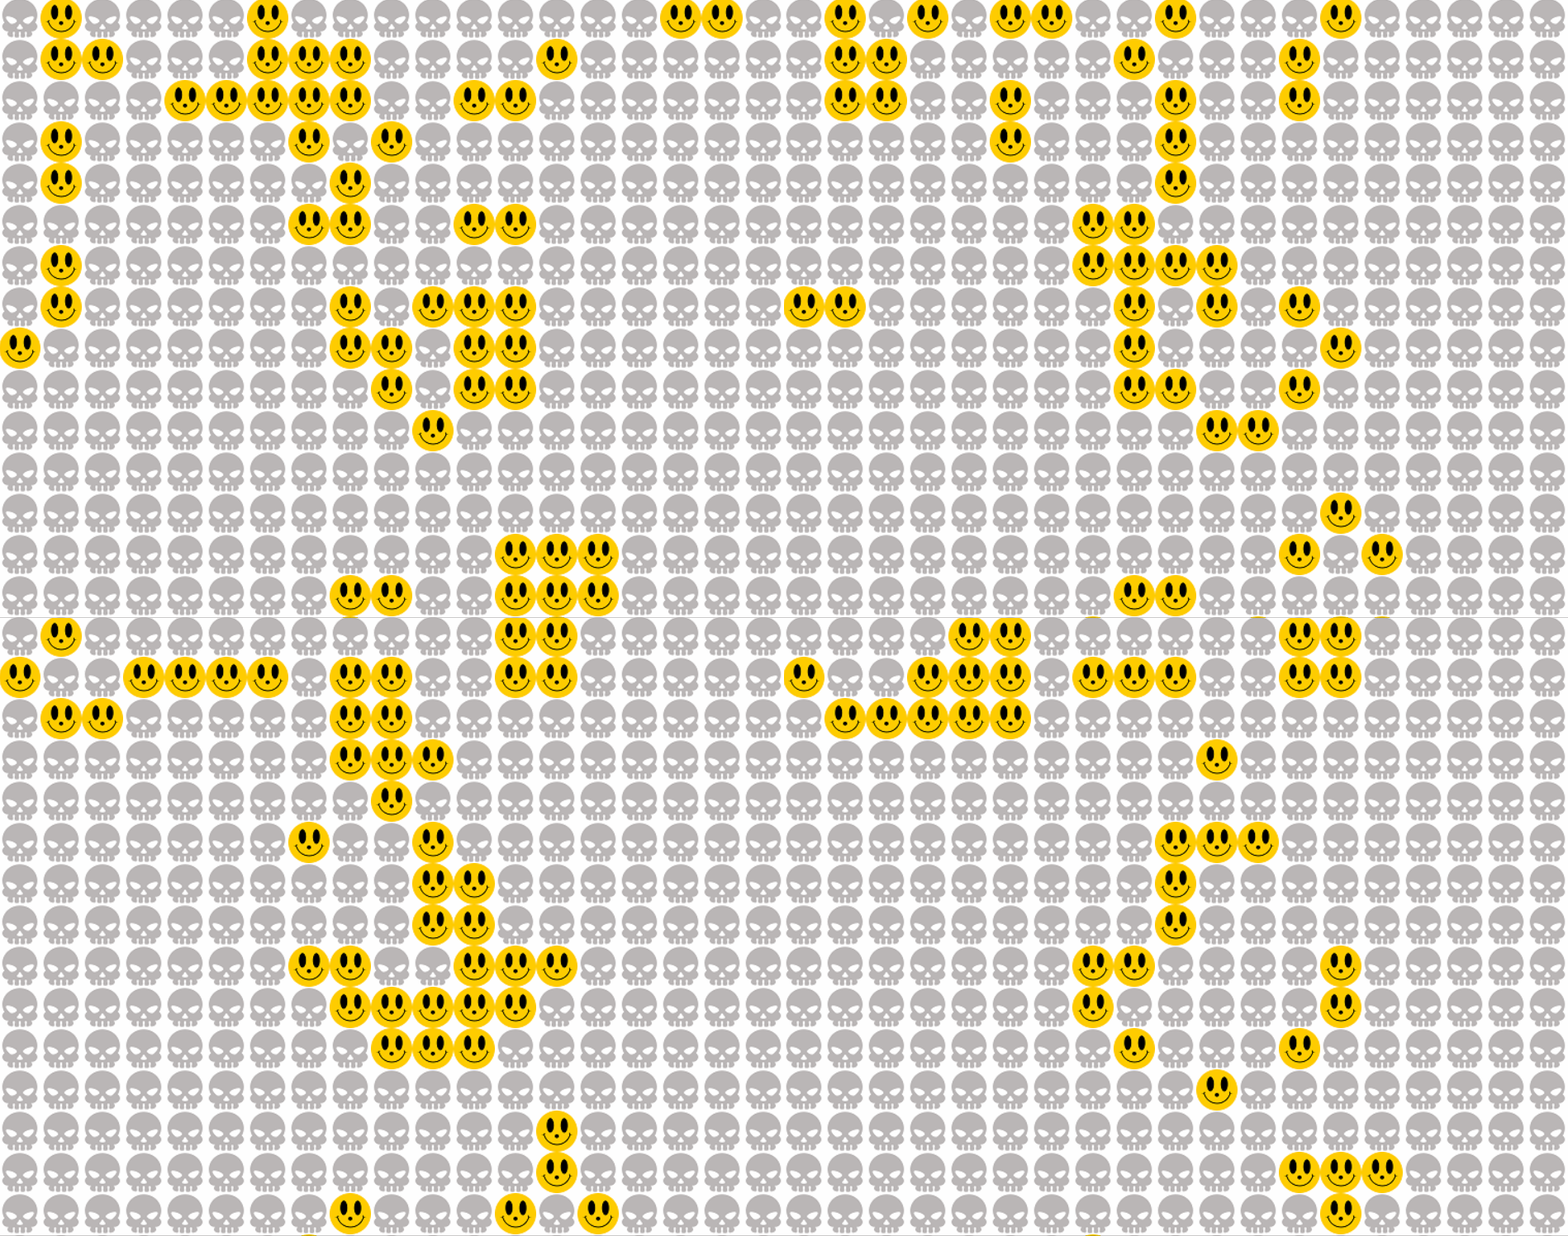
- Display the cellular states in each generation using emojis.
- Allow the user to change which set of emoji's they want to use.
The C# Model - Enumerations
In order to model Conway's Game of Life with emojis, we need two enumerations: one for the cellular states (alive or dead) and one for the emoji theme:
public enum Status
{
    Dead,
    Alive,
}

public enum Theme
{
    [Name("faces", "Smiley faces and skulls")]
    Faces,

    [Name("cats", "Cats and mice")]
    Cats,

    [Name("aliens", "Aliens and astronauts")]
    Aliens,

    [Name("boxes", "Simple boxes")]
    Boxes
}
The Custom [Name] Attribute
The [Name] attribute is a custom attribute I developed for this project. Here is its code:
public class NameAttribute : Attribute
{
    public string Name { get; private set; }
    public string Description { get; private set; }

    public NameAttribute(string name, string description)
    {
        this.Name = name;
        this.Description = description;
    }
}
It is used with two extension methods and Reflection to pull out the annotated name and description from an Enum value:
public static class EnumExtensions
{
	public static string GetDisplayName(this Enum en)
    {
        if (en == null)
            return "<none selected>";

        try
        {
            FieldInfo field = en.GetType().GetField(en.ToString());

            if (field == null)
                return en.ToString();

            NameAttribute[] attributes = (NameAttribute[])field.GetCustomAttributes(typeof(NameAttribute), false);

            if (attributes.Length > 0)
                return attributes[0].Name;
            else
                return en.ToString();
        }
        catch
        {
            return en.ToString();
        }
    }

    public static string GetDisplayDescription(this Enum en)
    {
        if (en == null)
            return "<none selected>";

        try
        {
            FieldInfo field = en.GetType().GetField(en.ToString());

            if (field == null)
                return en.ToString();

            NameAttribute[] attributes = (NameAttribute[])field.GetCustomAttributes(typeof(NameAttribute), false);

            if (attributes.Length > 0)
                return attributes[0].Description;
            else
                return en.ToString();
        }
        catch
        {
            return en.ToString();
        }
    }
}
With this infrastructure, we can now start building the Razor component that will run the Game of Life!
Starting the Blazor Component
The actual Blazor component will need a few properties to correctly model the Game of Life. We need to know the number of rows and columns, as well as the currently-selected theme, whether or not the simulation is currently running, and a representation of the actual cell grid. Here's the basic component with those properties:
@page "/gameoflife"

@code {
    public int Rows { get; set; }
    public int Columns { get; set; }
    public bool RunSimulation { get; set; }
    public Theme Theme { get; set; }

    public Status[,] Grid { get; set; }

    public GameOfLife()
    {
        Rows = 20;
        Columns = 20;
        Grid = new Status[Rows, Columns];
    }
}
We will need to expand this component to model the Game of Life. Let's start by modeling the Randomize function.
Randomizing the Grid
For each cell in the grid, we can set it randomly to Alive or Dead.
@code {
    public void Randomize()
    {
        for (var row = 0; row < Rows; row++)
        {
            for (var column = 0; column < Columns; column++)
            {
                Grid[row, column] = (Status)RandomNumberGenerator.GetInt32(0, 2);
            }
        }
    }
}Calculating the Next Generation
The most difficult part of this simulation is calculating the next generation of cells. Lucky for us, we don't need to actually do this part, we just need to steal it from Khalid's post and slightly modify it to match our own naming:
@code {
    public void CalculateNextGeneration()
    {
        var nextGeneration = new Status[Rows, Columns];

        // Loop through every cell
        for (var row = 1; row < Rows - 1; row++)
        {
            for (var column = 1; column < Columns - 1; column++)
            {
                // Find the alive neighbors
                var aliveNeighbors = 0;
                for (var i = -1; i <= 1; i++)
                {
                    for (var j = -1; j <= 1; j++)
                    {
                        aliveNeighbors += Grid[row + i, column + j] == Status.Alive ? 1 : 0;
                    }
                }

                var currentCell = Grid[row, column];

                // Subtract the current cell from the neighbor count
                aliveNeighbors -= currentCell == Status.Alive ? 1 : 0;

                // Implementing the Rules of Life

                // Cell is lonely and dies
                if (currentCell == Status.Alive && aliveNeighbors < 2)
                {
                    nextGeneration[row, column] = Status.Dead;
                }

                // Cell dies due to over population
                else if (currentCell == Status.Alive && aliveNeighbors > 3)
                {
                    nextGeneration[row, column] = Status.Dead;
                }

                // A new cell is born
                else if (currentCell == Status.Dead && aliveNeighbors == 3)
                {
                    nextGeneration[row, column] = Status.Alive;
                }

                // All other cells stay the same
                else
                {
                    nextGeneration[row, column] = currentCell;
                }
            }
        }
        Grid = nextGeneration;
    }
}
Click to Change Status
Because we want to allow our users to click on cells and change their alive status, we need a corresponding C# method:
public void ChangeStatus(int row, int column)
{
    Grid[row, column] =
        Grid[row, column] == Status.Dead ? Status.Alive : Status.Dead;
}
Setting the Theme
We also need a method to change the current emoji theme of the simulation:
public void SetTheme(ChangeEventArgs e)
{
    Theme = (Theme)Enum.Parse(typeof(Theme), e.Value.ToString());
}
The ChangeEventArgs class is defined by .NET Core.
Starting and Stopping the Simulation
The last part of the C# implementation is to start and stop the simulation. The stop method is simple:
public void Stop()
{
    RunSimulation = false;
}
The start method is slightly more complex: here it is, annotated:
public async Task Run()
{
    RunSimulation = true;
    while (RunSimulation)
    {
        CalculateNextGeneration();
        StateHasChanged(); //Tell Blazor to re-render the component
        await Task.Delay(1000); //Calculate the next generation after 1 second
    }
}
That's all of the pieces, but like any good puzzle, we still have to put them together.
The Razor Markup
Now we can start writing the Razor markup for our component.
<div class="container">
    <div class="row">
        <div class="col-4">
            <label>Theme: </label>
            <select @onchange="@SetTheme">
                <option value="@Theme.Faces">
                    @Theme.Faces.GetDisplayDescription()
                </option>
                <option value="@Theme.Cats">
                    @Theme.Cats.GetDisplayDescription()
                </option>
                <option value="@Theme.Aliens">
                    @Theme.Aliens.GetDisplayDescription()
                </option>
                <option value="@Theme.Boxes">
                    @Theme.Boxes.GetDisplayDescription()
                </option>
            </select>
        </div>
        <div class="col-2">
            @if (RunSimulation)
            {
                <!-- If the simulation is running, disable this button -->
                <button class="btn btn-primary" disabled>Randomize</button>
            }
            else
            {
                <!-- Otherwise, let the user randomize the cell states -->
                <button class="btn btn-primary"
                        @onclick="(() => Randomize())">Randomize</button>
            }
        </div>
        <div class="col-2">
            @if (RunSimulation)
            {
                <button class="btn btn-secondary"
                        @onclick="(() => Stop())">
                    <i class="fa fa-stop"></i> Stop
                </button>
            }
            else
            {
                <button class="btn btn-primary"
                        @onclick="(async () => await Run())">
                    <i class="fa fa-play"></i> Run
                </button>
            }
        </div>
    </div>
    @for (int i = 1; i < Rows; i++)
    {
        <div class="row flex-nowrap gameoflife-container">
            @for (int j = 1; j < Columns; j++)
            {
                var x = i;
                var y = j;
                var cell = Grid[x, y];

                if (cell == Status.Alive)
                {
                    <div class="[email protected]()"
                         @onclick="(() => ChangeStatus(x,y))"></div>
                }
                else
                {
                    <div class="gameoflife-cell
                                [email protected]()"
                         @onclick="(() => ChangeStatus(x,y))"></div>
                }
            }
        </div>
    }
</div>GIF Time!
The below GIF shows the features we just coded in action:

Tada! We made the Game of Life in C# and Blazor!
Thanks for Reading!
Thank you, dear reader, for reading this post. If you have any questions or suggestions, feel free to use the comments below. If you can improve on my implementation, please do! Go ahead and submit a pull request.
Happy Coding!


