We're looking at using RabbitMQ as a messaging queue for our new big service application, and I (as the lead developer) have been charged with getting this installed and running on my Windows machine. I'm writing this mostly so I can point my teammates toward it, but also because I'll bet we're not the only ones with this problem. Come along with me as we find out how to install RabbitMQ on a Windows machine!
What is RabbitMQ?
Let's start with this question: what is RabbitMQ anyway? Their basic tutorial describes it pretty well:
RabbitMQ is a message broker. The principal idea is pretty simple: it accepts and forwards messages. You can think about it as a post office: when you send mail to the post box you're pretty sure that Mr. Postman will eventually deliver the mail to your recipient. Using this metaphor RabbitMQ is a post box, a post office and a postman.
In our system, we'll be using this message broker to communicate between our web services and our databases, using a distributed architecture. For now, though, we just want to install the darn thing. We can do that in two steps: first, install the runtime it needs to execute, then install RabbitMQ itself as well as its management console plugin.
Step 1: Install Erlang
RabbitMQ runs in the Erlang virtual runtime. Erlang is a programming language designed to build scalable solutions. Proponents of it like to quote one of its founders, Robert Virding, who said:
Any sufficiently complicated concurrent program in another language contains an ad hoc informally-specified bug-ridden slow implementation of half of Erlang.
Which sounds a little over-the-top to me, but whatever, I want to make it work. So before we can do anything, we need to install Erlang. You can download the executables from the Erlang download page.
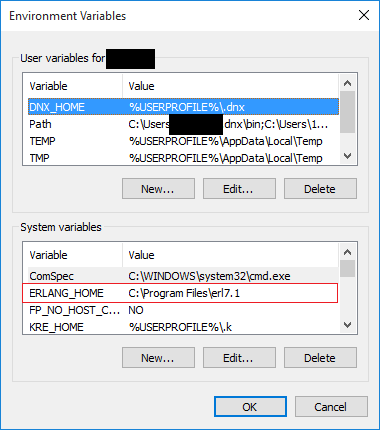
Installing Erlang should also create a new Environment Variable like so:

If this environment variable does not exist, you'll need to create it. Follow these steps to add the ERLANG_HOME environment variable.
Step 2: Install RabbitMQ and Management Console
Now that we've got Erlang installed, we can install RabbitMQ. You can get the latest download packages from RabbitMQ's site.
We also need to download and install the RabbitMQ Management Console plugin. To do that, open an elevated command prompt, navigate to the RabbitMQ sbin install path (something like Program Files (x86)\RabbitMQ Server\rabbitmq_server-3.5.6\sbin) and type the following commands:
rabbitmq-plugins.bat enable rabbitmq_management
Now that we have installed the management console, we need to stop, refresh, and restart the RabbitMQ service on our machine. The commands to do that look like this:
rabbitmq-service.bat stop
rabbitmq-service.bat install
rabbitmq-service.bat start
The "install" command appears to refresh certain settings in RabbitMQ (though I am really not a server guy, so if I'm incorrect on this please correct me in the comments).
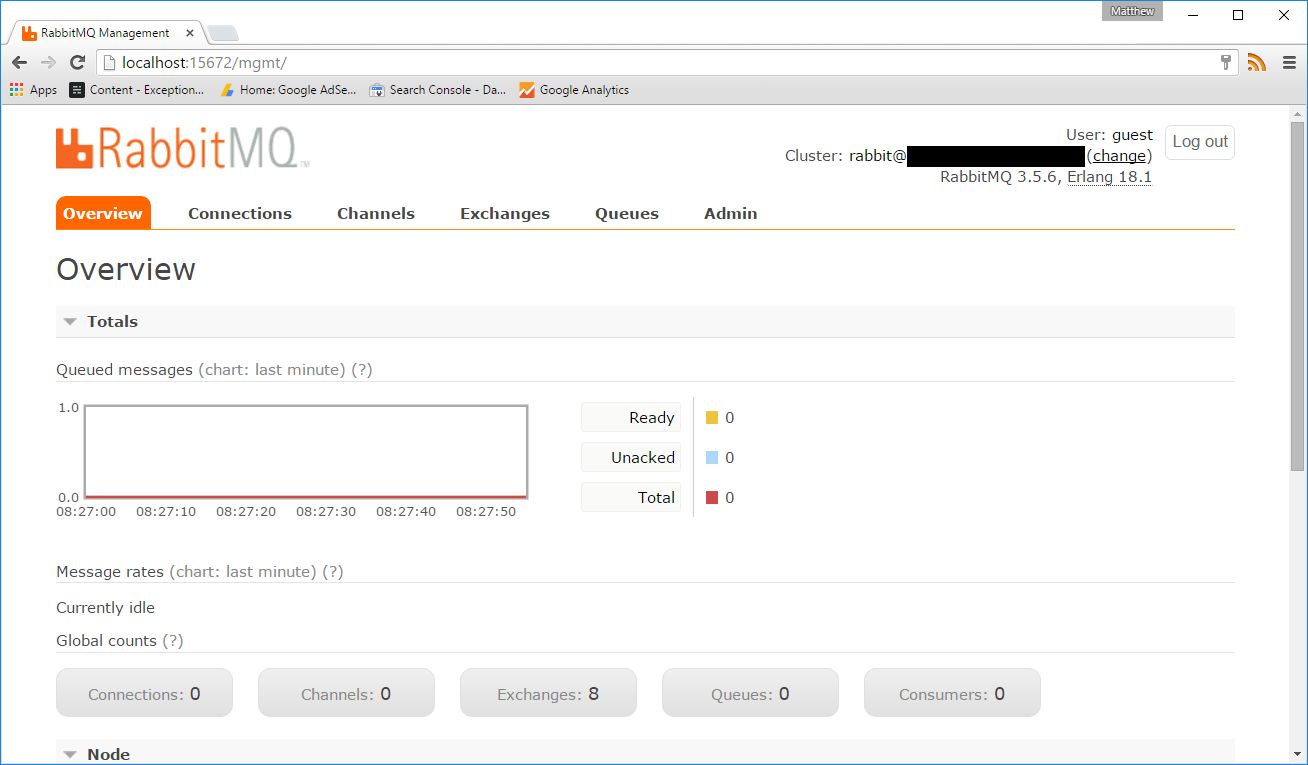
Now that we finally have RabbitMQ installed on our machine, open your favorite browser and navigate to http://localhost:15672/mgmt/. (Note that, if you installed versions of RabbitMQ prior to 3.0, the port number was 55672). You should get a login page; log in to the management console using username "guest" and password "guest". Once you've logged in, you should see a screen that looks like this:

Congratulations! You've now installed RabbitMQ on your Windows machine! For the next steps, take a look at the tutorials on the RabbitMQ site.
Happy Coding!


