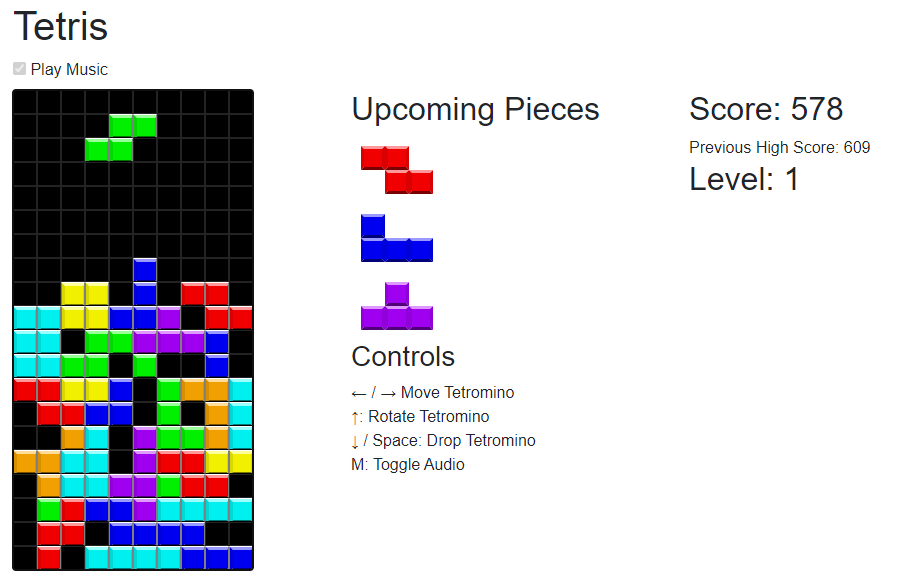
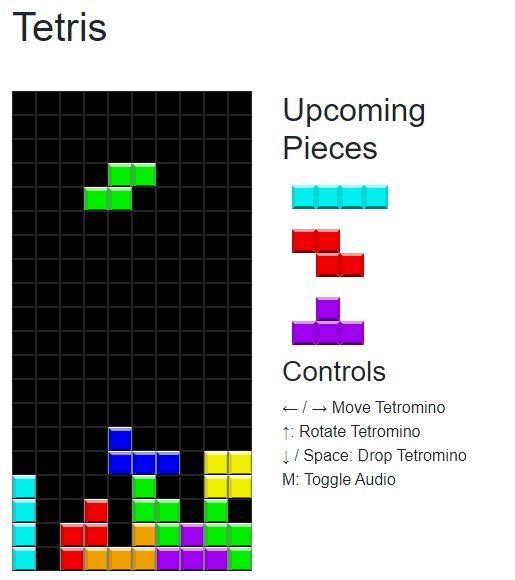
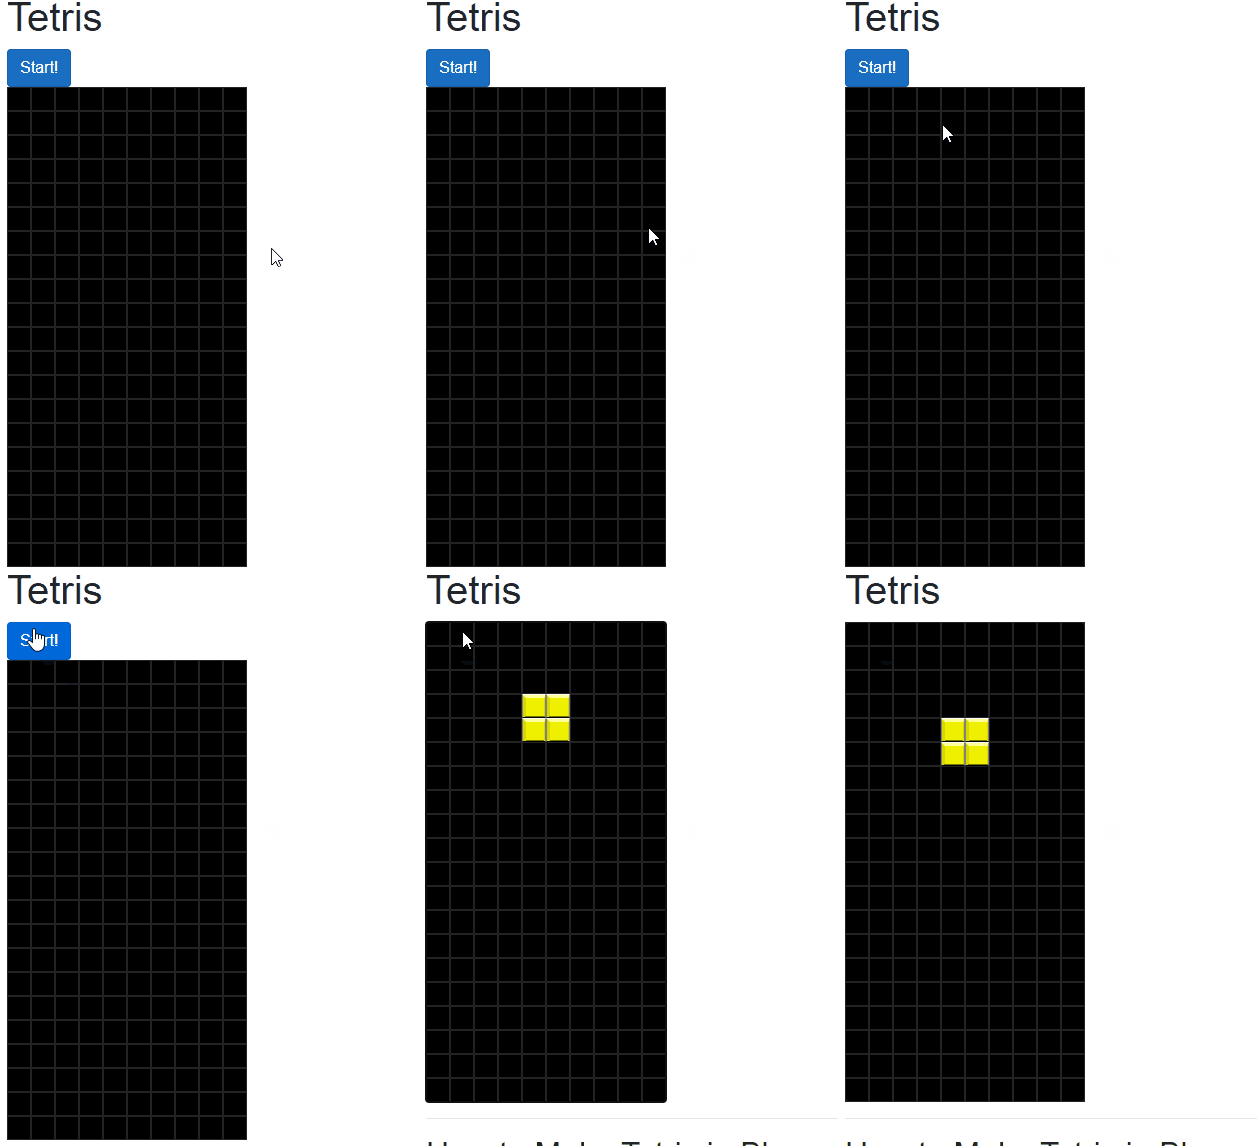
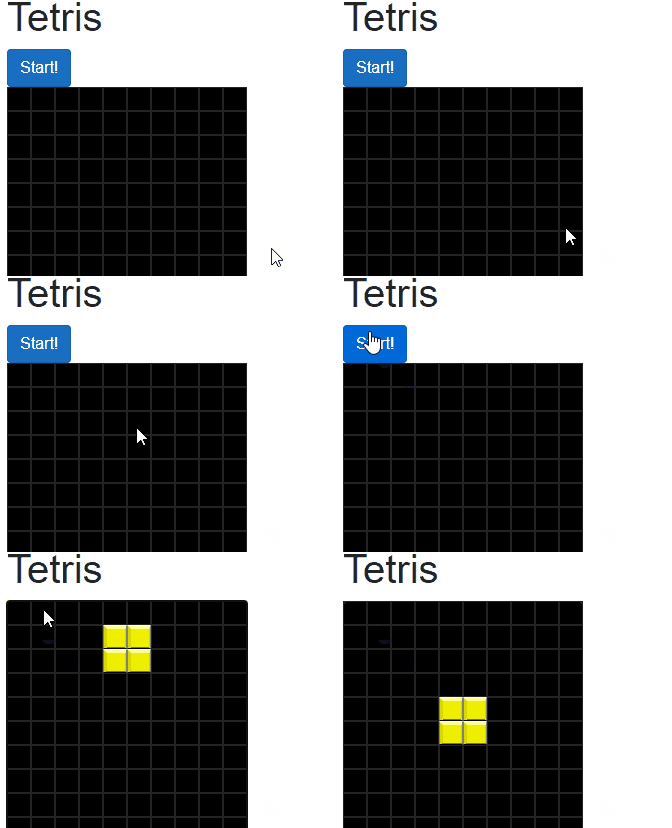
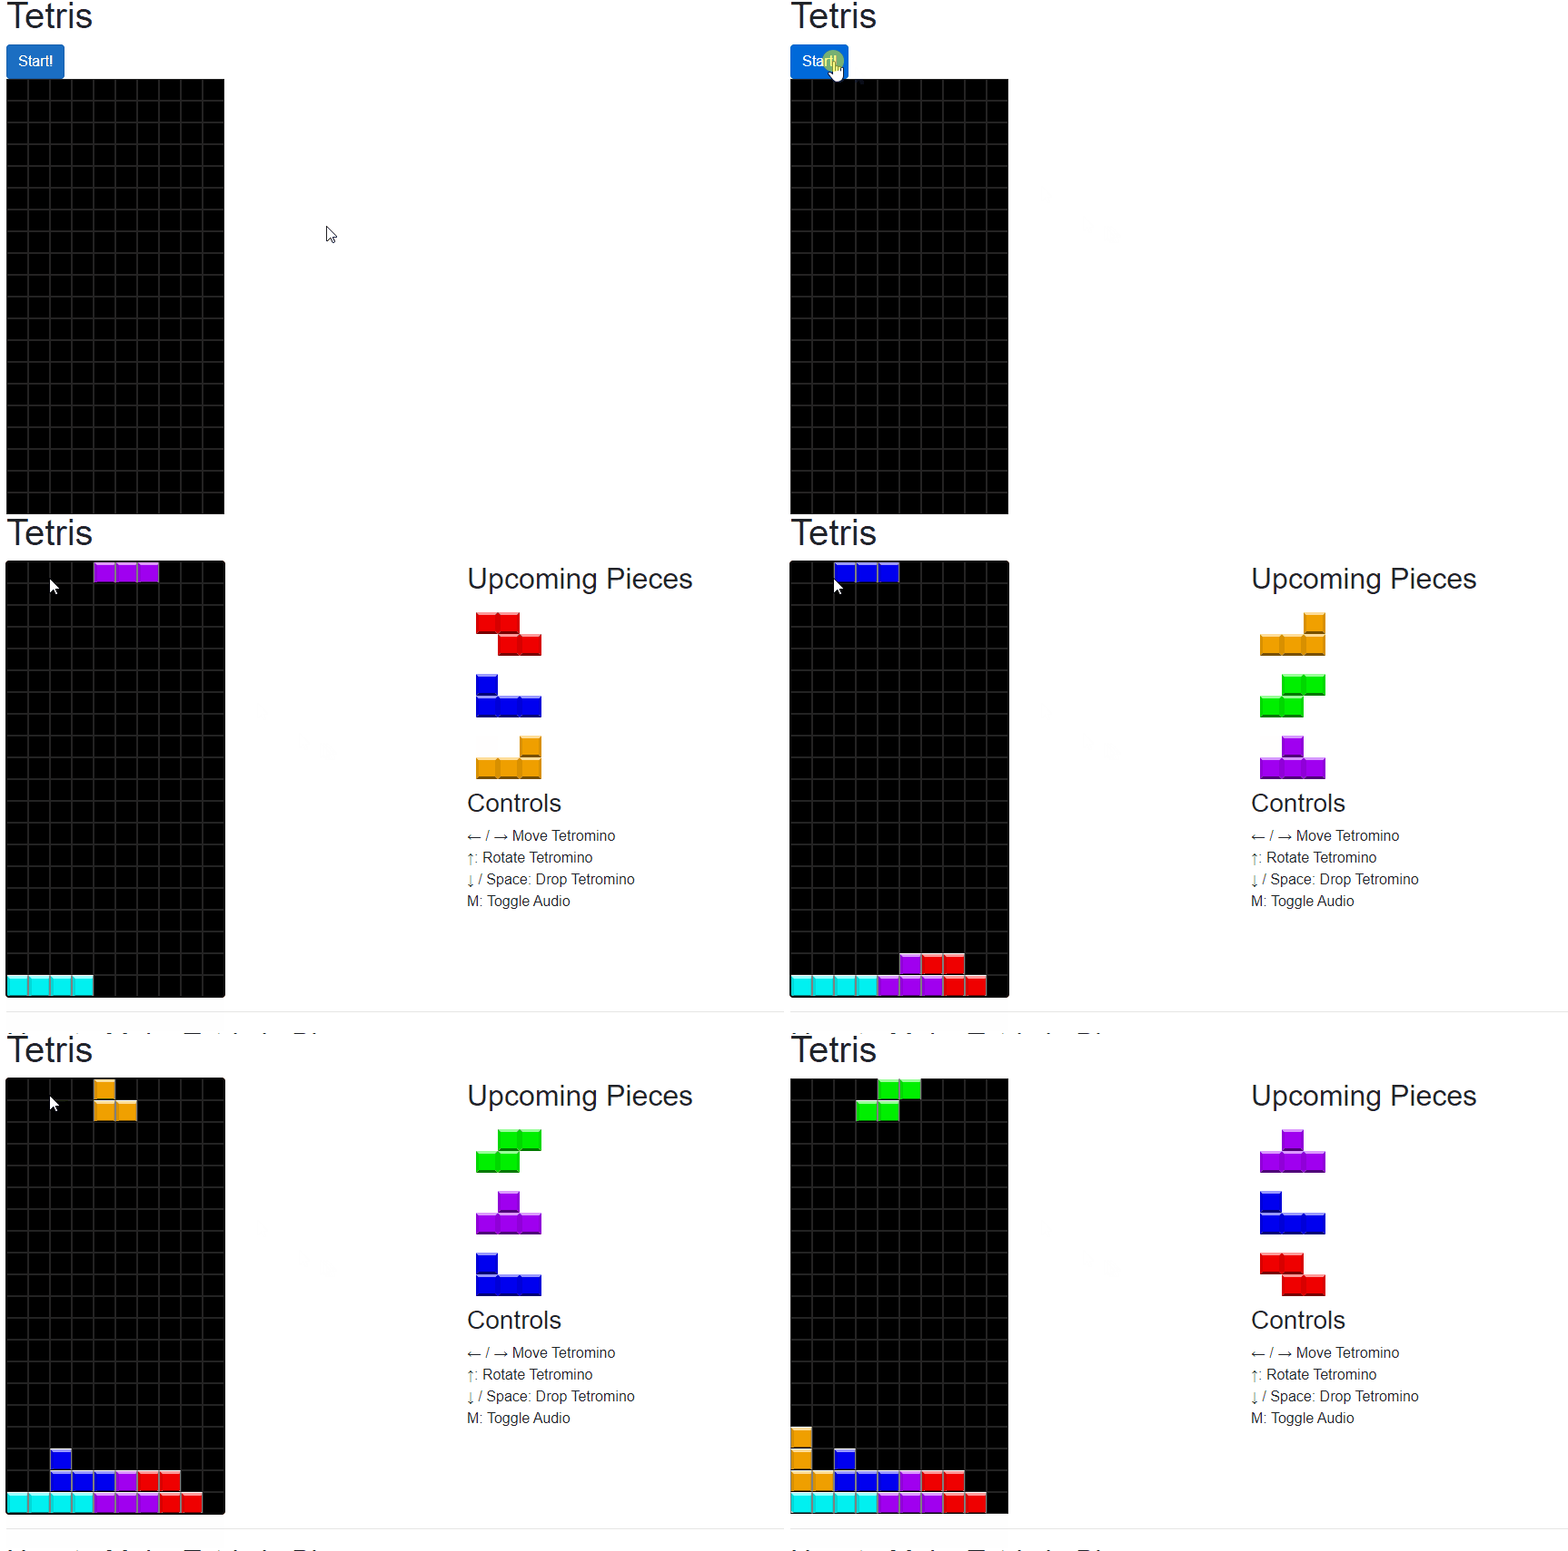
At the end of the previous post, we had a Tetris grid displayed, a "Start" button, and the game loop implemented so that we could get a falling tetromino. It looked like this:
In this part, we're going to make our Tetris in Blazor project a fully-functional game, by implementing the following features:
- Focusing the Grid on Game Start
- Controls
- Upcoming Tetrominos
- Clearing Completed Rows
We've got a lot to do, so let's get started!
The Sample Project
All of the code in this series is part of my BlazorGames repository on GitHub. Check it out!
Previously in this Series
Goal 1: Focusing the Grid
This first goal is really more of an ease-of-use feature. When the game starts, the browser's focus should be placed on the game grid <div> so that the controls will work right away, without the user needing to click on the grid.
Let's recall the basic outline of our main Blazor component as it exists right now:
<!-- Page and using statements -->

@code {
    //Implementation
}

<PageTitle Title="Tetris" />

<div class="row">
    <div class="col">
        @if (grid.State == GameState.NotStarted)
        {
            <button @onclick="RunGame"
                    class="btn btn-primary">Start!</button>
        }
    </div>
</div>

<div class="row">
    <div class="col">
        <div class="tetris-container" tabindex="0">
            <!-- Grid implementation -->
        </div>
    </div>
</div>
Here's a funny thing about Blazor: there's currently not a way to put focus on an HTML element without using JavaScript. So, that's what we'll have to do.
First, we need to inject an instance of IJSRuntime to our component:
@inject IJSRuntime _jsRuntime;We now need a JS method that sets focus on a given element:
window.SetFocusToElement = (element) => {
    element.focus();
};Using IJSRuntime, we invoke the SetFocusToElement() JavaScript method when the game is first started, right before entering the game loop:
@code {
    //...Other properties and methods

    public async Task RunGame()
    {
        //Rest of implementation

        //Focus the browser on the board div
        await _jsRuntime.InvokeVoidAsync("SetFocusToElement", gameBoardDiv);

        //Where there is no tetromino with a row of 21 or greater
        while (!grid.Cells.HasRow(21))
        { /* Game loop */ }
    }
}
Okay! The first of the four goals is done. Let's move on to the biggest missing feature: the controls.
Goal 2: Controls
The most obvious remaining thing we need to implement for our game of Tetris is some keyboard based controls so that player can interact with the falling tetromino. To do this, we're going to need some Blazor keyboard events.
The game grid is the <div class="tetris-container"> element on the main Blazor component. We need to implement a set of events that will intercept key presses and move the falling tetromino accordingly.
The first thing we need to do is set up an @OnKeyDown event for the tetris-container div:
@code {
    //... Other properties and methods

    protected async Task KeyDown(KeyboardEventArgs e)
    {
        //TODO
    }
}

<!-- Other markup -->

<div class="row">
    <div class="col">
        <div class="tetris-container" @onkeydown="KeyDown"> <!-- NEW -->
            <!-- Grid markup -->
        </div>
    </div>
</div>
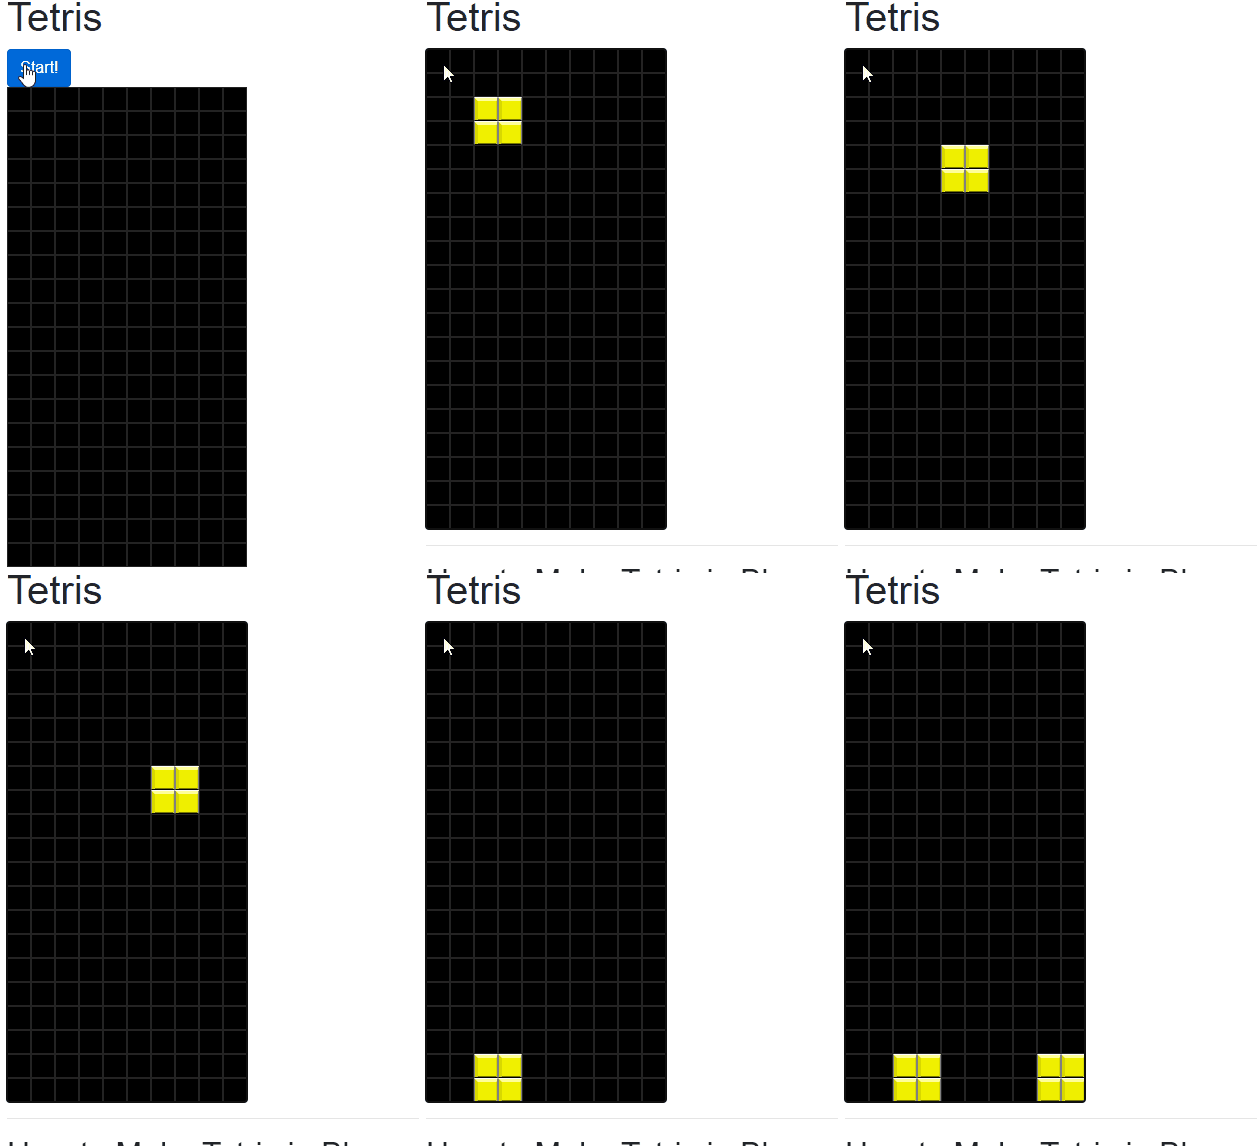
Inside this event, we need to intercept the key down event for each of the arrow keys. Left and right will move the falling tetromino in the appropriate direction, up will rotate the tetromino clockwise, and down will "hard drop" the tetromino to the bottom. The full implementation of KeyDown() looks like this:
@code {
    //... Other properties and methods

    protected async Task KeyDown(KeyboardEventArgs e)
    {
        if (grid.State == GameState.Playing)
        {
            if (e.Key == "ArrowRight")
            {
                currentTetromino.MoveRight();
            }
            if (e.Key == "ArrowLeft")
            {
                currentTetromino.MoveLeft();
            }
            if(e.Key == "ArrowDown")
            {
                int addlScore = currentTetromino.Drop();

                //Tell the game loop to skip the standard delay
                skipDelay = true;

                //What do we do here?
            }
            if(e.Key == "ArrowUp")
            {
                currentTetromino.Rotate();
            }
            StateHasChanged();
        }
    }
}
Recall from earlier parts in this series that "hard-dropping" a tetromino results in addition points for the player. Our Drop() method on the Tetromino class already calculates the additional score, so we just need to add it to the main score, which we will do in the "Scoring" section below.
With these controls implemented, our game now looks like the GIF below:
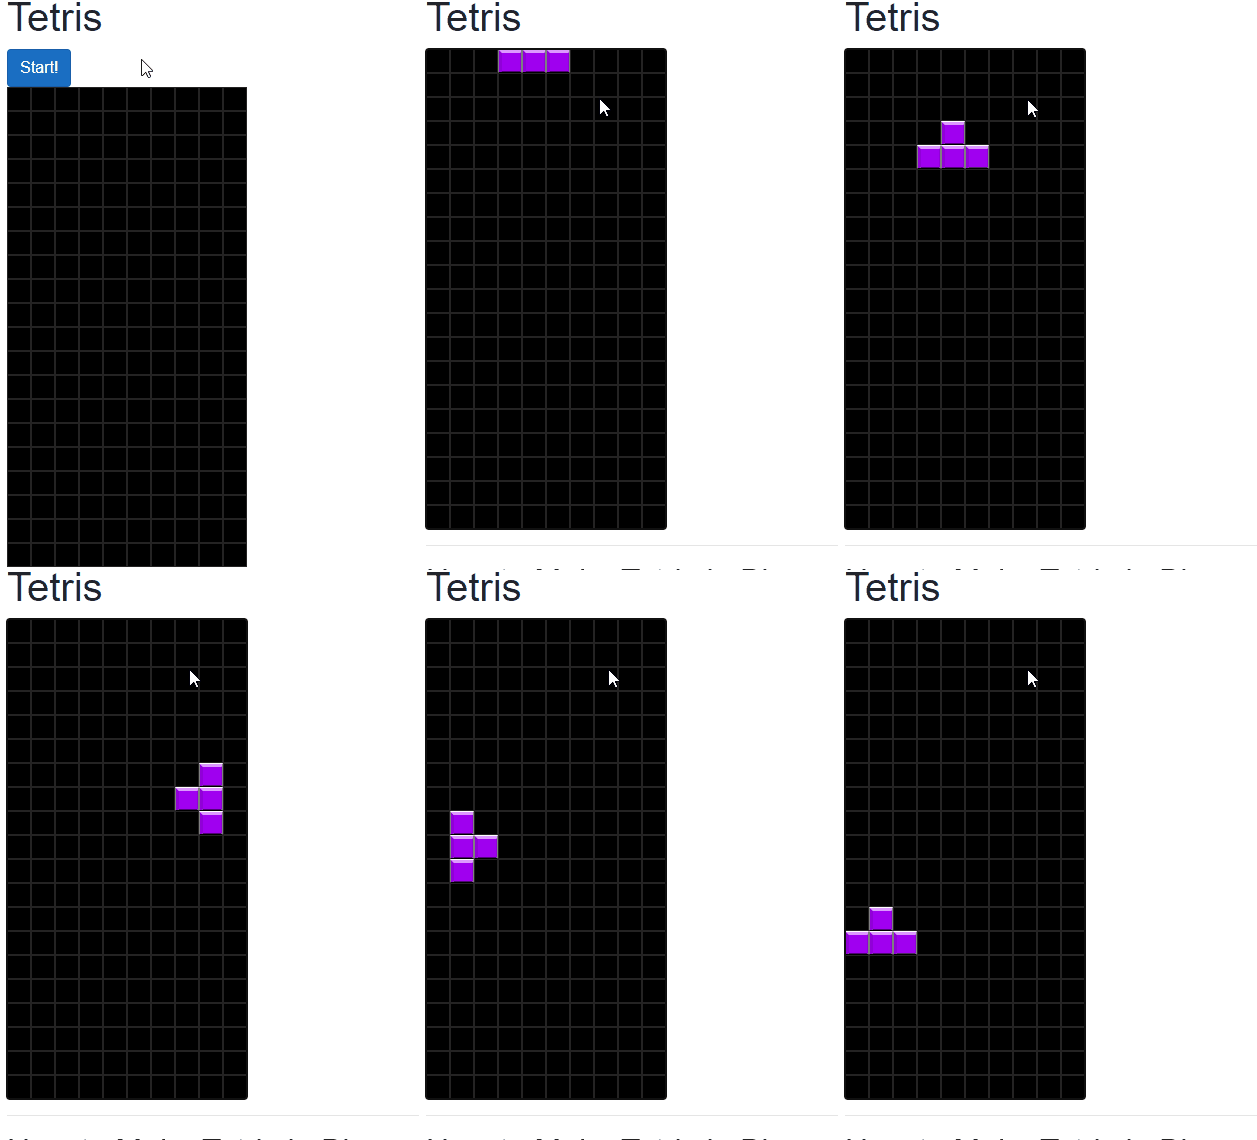
But wait! You might recall from Part 3 that the block tetromino does not rotate. So how do we know our rotation is working correctly?
Let's change the block tetromino to the T-Shaped tetromino:
@code {
    //...Other properties and methods

    public async Task RunGame()
    {
        //Rest of implementation

        //Where there is no tetromino with a row of 21 or greater
        while (!grid.Cells.HasRow(21)) //Game loop
        {
            currentTetromino = new TShaped(grid);

            RunCurrentTetromino(); //Tetromino loop
            //Rest of game loop
        }
    }

    public async Task RunCurrentTetromino() //Tetromino loop
    {
        currentTetromino = new TShaped(grid);

        //Rest of tetromino loop
    }
}
Now we can see that our rotate function works perfectly:
Goal 3: Upcoming Tetrominos
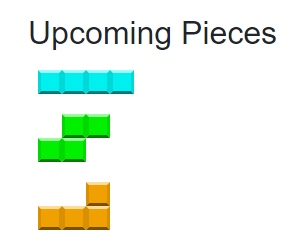
A big part of any game of Tetris is showing the user the next three upcoming tetrominos.
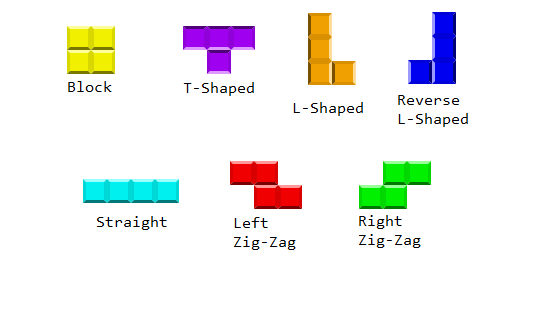
At this moment, our game can only "launch" one kind of tetromino. We need to create a class that can "generate" tetrominos, as well as way in which we can keep track of what tetrominos should be launched by the game next.
Rules for Tetromino Generation
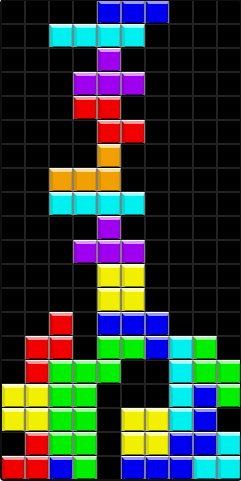
Tetris knows that getting the same tetromino over and over again is no fun, but it still allows for some random generation. Specifically, what Tetris does is this:
- When the game first starts, it generates the first tetromino and the next three styles. None of these first four tetrominos can be the same style.
- As each tetromino is "solidified", a new tetromino is generated from the first-upcoming style and placed on the board.
- The upcoming tetromino styles each move up a slot, and a new style is generated for the third-upcoming slot. This newly-generated style cannot be the same as either the currently-falling tetromino or the upcoming styles.
In short, at any given time, the currently-falling tetrominos and the next-three upcoming ones all have different styles.
Structure of the Generator
In our implementation, the process by which upcoming tetromino styles are generated is broken into two parts.
- A class
TetrominoGeneratorwhich generates the upcoming tetromino styles AND can generate the actualTetrominoinstance from a given style. - The main Blazor component, which keeps track of the upcoming styles.
We'll build the TetrominoGenerator class first.
Tetromino Generator
TetrominoGenerator needs two methods:
Next(), which takes a collection ofTetrominoStyleinstances. These new style cannot be any of the given styles.CreateFromStyle(), which creates a full-blown tetromino instance from the given style.
The second of these has a straight forward implementation, so it is included here:
public class TetrominoGenerator
{
    public TetrominoStyle Next(params TetrominoStyle[] unusableStyles)
    {
        //TODO
    }

    public Tetromino CreateFromStyle(TetrominoStyle style, Grid grid)
    {
        return style switch
        {
            TetrominoStyle.Block => new Block(grid),
            TetrominoStyle.Straight => new Straight(grid),
            TetrominoStyle.TShaped => new TShaped(grid),
            TetrominoStyle.LeftZigZag => new LeftZigZag(grid),
            TetrominoStyle.RightZigZag => new RightZigZag(grid),
            TetrominoStyle.LShaped => new LShaped(grid),
            TetrominoStyle.ReverseLShaped => new ReverseLShaped(grid),
            _ => new Block(grid),
        };
    }
}
The Next() method is less obvious, so let's write up an algorithm for it.
- GIVEN a set of already-in-use styles
- RANDOMLY select a new style
- IF/WHILE that new style is one of the already-in-use styles, SELECT another random style.
- RETURN the new style
Which results in this implementation:
public class TetrominoGenerator
{
    public TetrominoStyle Next(params TetrominoStyle[] unusableStyles)
    {
        Random rand = new Random(DateTime.Now.Millisecond);

        //Randomly generate one of the eight possible tetrominos
        var style = (TetrominoStyle)rand.Next(1, 8);

        //Re-generate the new tetromino until it is
        //a style that is not one of the upcoming styles.
        while (unusableStyles.Contains(style))
            style = (TetrominoStyle)rand.Next(1, 8);

        return style;
    }

    //Other method
}
Ta-da! Our TetrominoGenerator is ready for use on our main Blazor component. Speaking of which: how do we do that exactly?
Modifying the Blazor Component
The first thing we need is a set of properties that represents the upcoming tetromino styles:
@code {
    //...Other properties

    //Represents the currently-falling tetromino
    Tetromino currentTetromino;

    //Represents the next three tetromino styles.
    //The actual tetrominos will be created
    //only when they become the current tetromino.
    TetrominoStyle nextStyle;
    TetrominoStyle secondNextStyle;
    TetrominoStyle thirdNextStyle;

    //Rest of implementation
}
When the game starts, we need to generate the current tetromino and the next three styles:
@code {
    //...Other properties and methods

    public async Task RunGame()
    {
        //Generate the styles of the first three tetrominos
        nextStyle = generator.Next();
        secondNextStyle = generator.Next(nextStyle);
        thirdNextStyle = generator.Next(nextStyle, secondNextStyle);

        while (!grid.Cells.HasRow(21))
        { /* Game loop */ }

        //Rest of implementation
    }
}
Inside the game loop, once a piece can no longer be moved, we must use the first upcoming style to generate the next tetromino, move each style up the line, and generate a brand-new style for the third-upcoming tetromino.
@code {
    //...Other properties and method

    public async Task RunGame()
    {
        //Rest of implementation

        //Where there is no tetromino with a row of 21 or greater
        while (!grid.Cells.HasRow(21)) //Game loop
        {
            //Create the next tetromino to be dropped
            //from the already-determined nextStyle,
            //and move the styles "up" in line
            currentTetromino = generator.CreateFromStyle(nextStyle, grid);
            nextStyle = secondNextStyle;
            secondNextStyle = thirdNextStyle;
            thirdNextStyle
                = generator.Next(currentTetromino.Style,
                                 nextStyle,
                                 secondNextStyle);

            StateHasChanged();

            //Run the current tetromino until it can't move anymore
            await RunCurrentTetromino();
        }
}
All of this is great so far, now what we need is a display for the upcoming tetrominos.
The TetrominoDisplay Component
Let's create a Blazor component TetrisTetrominoDisplay that displays a single upcoming tetromino.
@using BlazorGames.Models.Tetris.Enums;

@code {
    [Parameter]
    public TetrominoStyle Style { get; set; }
}

@{
    string imgURL = "../images/tetris/";
    switch(Style)
    {
        case TetrominoStyle.Block:
            imgURL += "tetromino-block.png";
            break;

        case TetrominoStyle.Straight:
            imgURL += "tetromino-straight.png";
            break;

        case TetrominoStyle.TShaped:
            imgURL += "tetromino-tshaped.png";
            break;

        case TetrominoStyle.LeftZigZag:
            imgURL += "tetromino-leftzigzag.png";
            break;

        case TetrominoStyle.RightZigZag:
            imgURL += "tetromino-rightzigzag.png";
            break;

        case TetrominoStyle.LShaped:
            imgURL += "tetromino-lshaped.png";
            break;

        case TetrominoStyle.ReverseLShaped:
            imgURL += "tetromino-reverselshaped.png";
            break;
    }
}

<div class="row tetris-display-row">
    <div class="col">
        <img src="@imgURL"/>
    </div>
</div>We can use that component to display the upcoming styles on the main Blazor component:
<!-- Rest of main Blazor component -->
<div class="row">
<div class="col">
<div class="tetris-container" tabindex="0" @onkeydown="KeyDown">
@for (int i = grid.Height; i >= 1; i--)
{
<div class="tetris-row">
@for (int j = 1; j <= grid.Width; j++)
{
<TetrisGridCell Row="i" Column="j" Tetromino="currentTetromino" Grid="grid" />
}
</div>
}
</div>
</div>
<div class="col">
@if (grid.IsStarted)
{
<div class="row">
<div class="col">
<h2>Upcoming Pieces</h2>
</div>
</div>
<TetrisTetrominoDisplay Style="nextStyle" />
<TetrisTetrominoDisplay Style="secondNextStyle" />
<TetrisTetrominoDisplay Style="thirdNextStyle" />
<div class="row">
<div class="col">
<h3>Controls</h3>
<span>←</span> / <span>→</span> Move Tetromino<br />
<span>↑</span>: Rotate Tetromino<br />
<span>↓</span> / <span>Space</span>: Drop Tetromino<br />
<span>M</span>: Toggle Audio
</div>
</div>
}
</div>
</div>All of this results in a pretty nice display, which we saw earlier:

That's the second of our four goals done!
Goal 4: Clearing Completed Rows
This is quite possibly the most important feature we still haven't completed.
When a row is completely filled, we want to add a special CSS class tetris-clear-row to each cell in the row that will animate the cell "fading out".
@keyframes fadeOut {
    0% { background-color: white }
    50% { background-color: gray }
    100% { background-color: black }
}

@-webkit-keyframes fadeOut {
    0% { background-color: white }
    50% { background-color: gray }
    100% { background-color: black }
}

@-moz-keyframes fadeOut {
    0% { background-color: white }
    50% { background-color: gray }
    100% { background-color: black }
}

.tetris-clear-row {
    border: solid 1px gray;
    animation-name: fadeOut;
    animation-duration: 1s;
    -webkit-animation-name: fadeOut;
    -webkit-animation-duration: 1s;
    -moz-animation-name: fadeOut;
    -moz-animation-duration: 1s;
}
After we animate these cells, we need to actually remove them from the grid and move the filled cells above the removed row(s) down.
To accomplish this, we'll need a method ClearCompletedRows() on the main Blazor component which is called during the game loop.
@code {
    //...Other properties and methods

    public async Task RunGame()
    {
        //...Rest of implementation
        while (!grid.Cells.HasRow(21)) //Game loop
        {
            StateHasChanged();

            //Run the current tetromino until it can't move anymore
            await RunCurrentTetromino();

            //If any rows are filled, remove them from the board
            await ClearCompleteRows();
        }
    }

    public async Task ClearCompleteRows()
    {
        //TODO
    }
}
The method ClearCompletedRows() looks something like this (methods like SetCssClass() and CollapseRows() were written in Part 2 of this series):
@code {
    //...Other properties and methods

    public async Task ClearCompleteRows()
    {
        List<int> rowsComplete = new List<int>();

        //For each row
        for (int i = 1; i <= grid.Height; i++)
        {
            //If every position in that row is filled...
            if (grid.Cells.GetAllInRow(i).Count == grid.Width)
            {
                //Add the "complete" animation CSS class
                grid.Cells.SetCssClass(i, "tetris-clear-row");

                //Mark that row as complete
                rowsComplete.Add(i);
            }
        }

        //If there are any complete rows
        if(rowsComplete.Any())
        {
            //Refresh the display to show the animation CSS
            StateHasChanged();

            //Collapse the "higher" cells down to fill in the completed rows.
            grid.Cells.CollapseRows(rowsComplete);

            //Calculate the score for the completed row(s)
            switch (rowsComplete.Count)
            {
                //TODO in Part 6
            }

            //Delay for 1 second to allow animation to complete
            await Task.Delay(1000);
        }
        grid.State = GameState.Playing;
    }
}
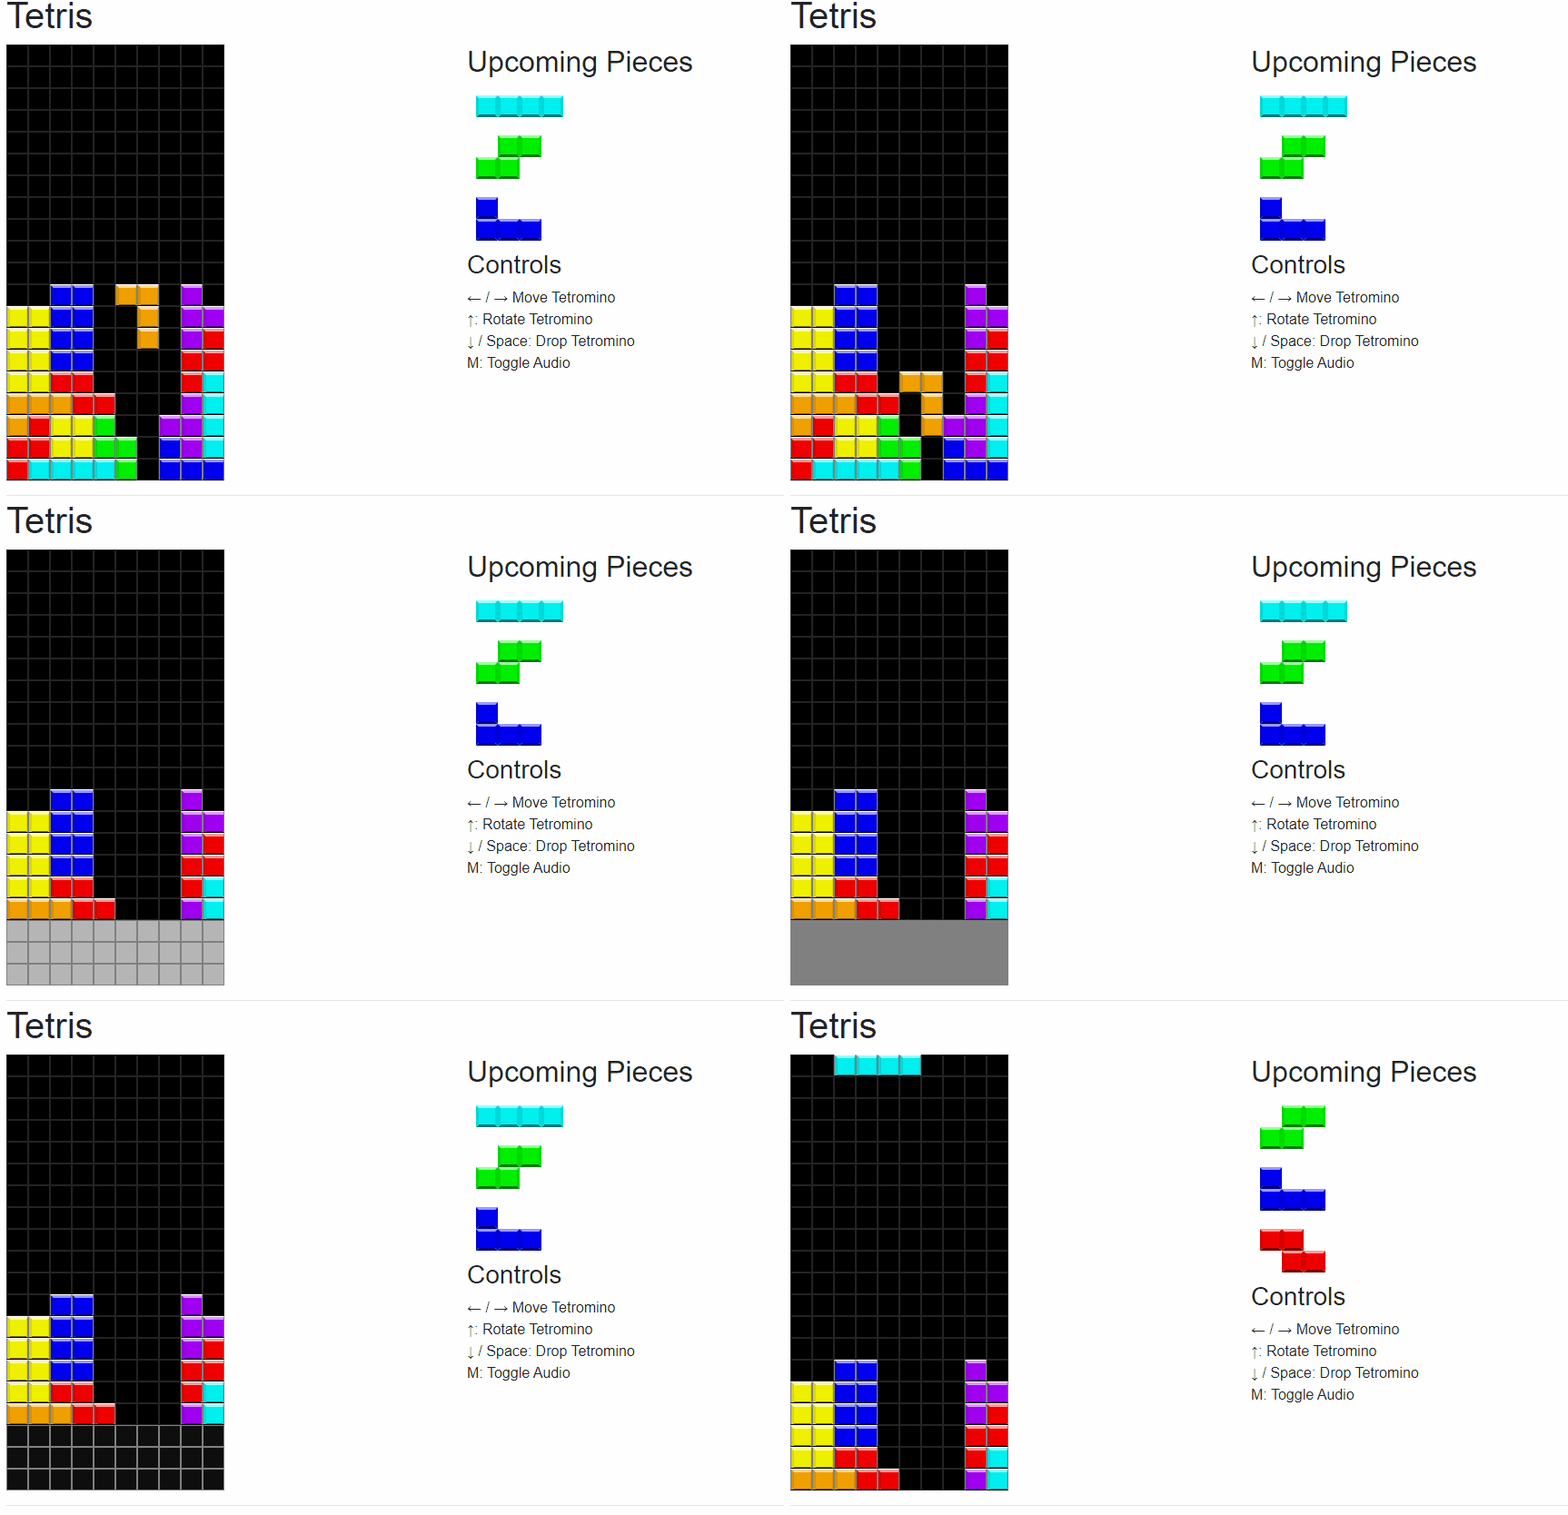
With this implemented, our Tetris game can now properly clear rows, as shown in this GIF:
All right! We accomplished our goals for this post!
Summary
In this part of the Tetris in Blazor series, we made our Tetris game controllable with the arrow keys. We also created an "Upcoming Pieces" display (and made the game generate upcoming tetrominos correctly), and our game now clears completed rows. We've made a lot of progress!
In the next part of this series, we're going to add the rest of the main features, including scoring and levels, plus some cool ease-of-use features like a "previous high score" cookie, music, and the grace period. Don't miss it!
Happy Coding!
The Last Part
There's one remaining post in this series. Check it out here:
