With our modeling done in Part 1 and the C# classes created in Part 2, we are now ready to build some Blazor components to model a game of Blackjack. In this part, we will build several small components and determine what their functionality should be.
At the end of this post, we will have a list of methods that need to be implemented to make this Blackjack in Blazor game work, which we will implement along with the rest of the game in the next and final part of this series.
Also In This Series
You might want to read the first two parts of this series before reading this one:
As always, there's a sample repository over on GitHub you can use to follow along with this post. It also has all my other Blazor game implementations. Check it out!
All caught up? Good! Let's get going!
The Game State
We must solve a problem that we have left unsolved since the original post in this series: how do we represent the current state of the game?
We'll need to know this because certain displays (e.g. the Insurance bet amount, the payout or loss amount, status notifications, etc.) will only be shown to the user when the game is in certain states.
We can work out the possible values for the game state by walking through a typical Blackjack hand.
- At the start of the hand, the player must be able to make bets before the initial deal. Therefore there must be a game state for "betting".
- We will also want a state for before the game has started; we'll call that "not started", unsurprisingly.
- The dealer will need to make the initial deal after the bet; the corresponding game state will be "dealing".
- Since the dealer will occasionally need to shuffle the cards, we should also have a game state for "shuffling".
- Once the hand is underway, and the player can hit or stand, the game state will be "in progress" until the hand is complete or another state supersedes it.
- One state that can supersede the "in progress" state is the Insurance special play; during that play, the game state will be "insurance".
- Finally, after the hand, the dealer will need to either collect the lost bet or pay out the player; we will call this state "payout".
Consequently, we end up with the following GameState enumeration:
public enum GameState
{
    NotStarted,
    Betting,
    Dealing,
    InProgress,
    Insurance,
    Payout,
    Shuffling
}
We will use this enumeration extensively while building our Blazor components for this game. Speaking of which, it's time to start doing that. Let's begin with the smallest components first.
The PlayingCard Component
Like how we modeled the playing card in C# first because it was the smallest independent object, we will create a Blazor component for it first for the same reason.
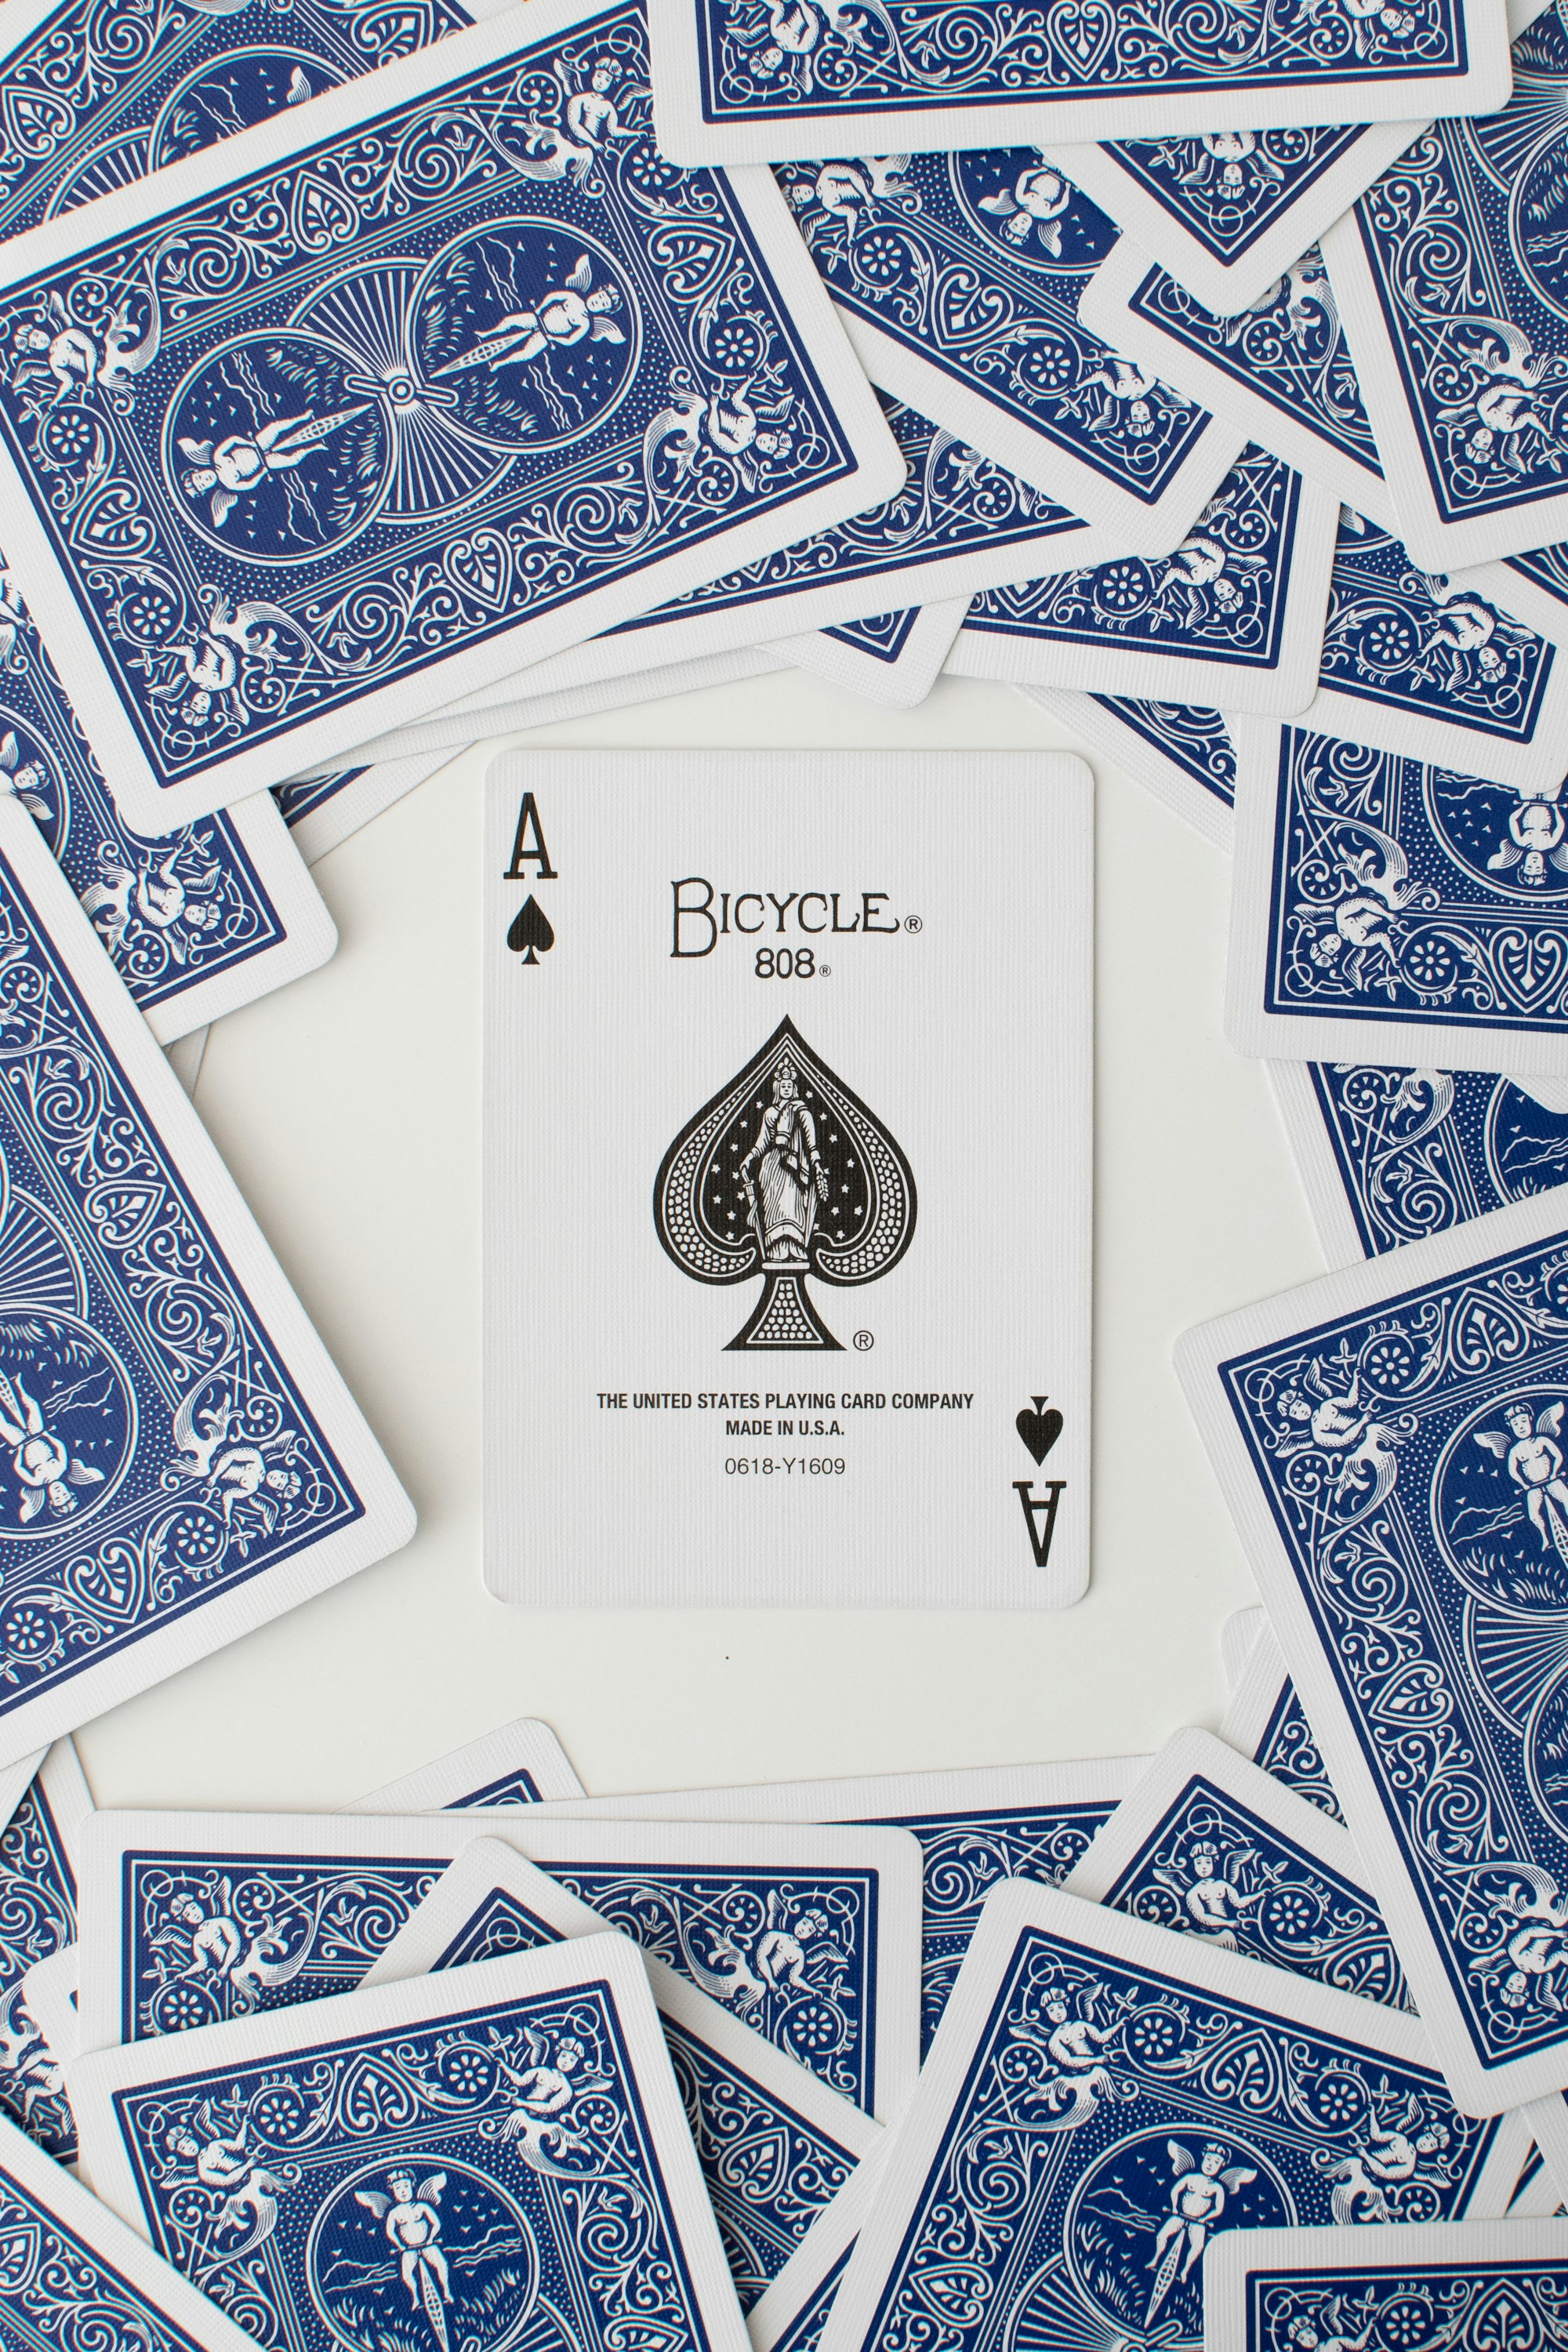
The component only needs an instance of the Card C# object to work:
@using BlazorGames.Models.Blackjack;

@code {
    [Parameter]
    public Card Card { get; set; }
}

@if (Card.IsVisible)
{
    <img class="blackjack-card" src="images/blackjack/@(Card.ImageName).png" />
}
else
{
    <img class="blackjack-card" src="images/blackjack/cardBack.png" />
}Remember that the [Parameter] attribute is used so that a value can be passed into the component from its declaration on another component.
Note that we have a special CSS class for blackjack-card that makes the cards appear stacked:
.blackjack-card {
    height: 190px;
    width: 140px;
    float: left;
}

.blackjack-card:not(:first-child) {
    margin-left: -100px;
}
The Player Hand Component
If we build up from the playing card Blazor component, the next component we need is one to display a player's hand.
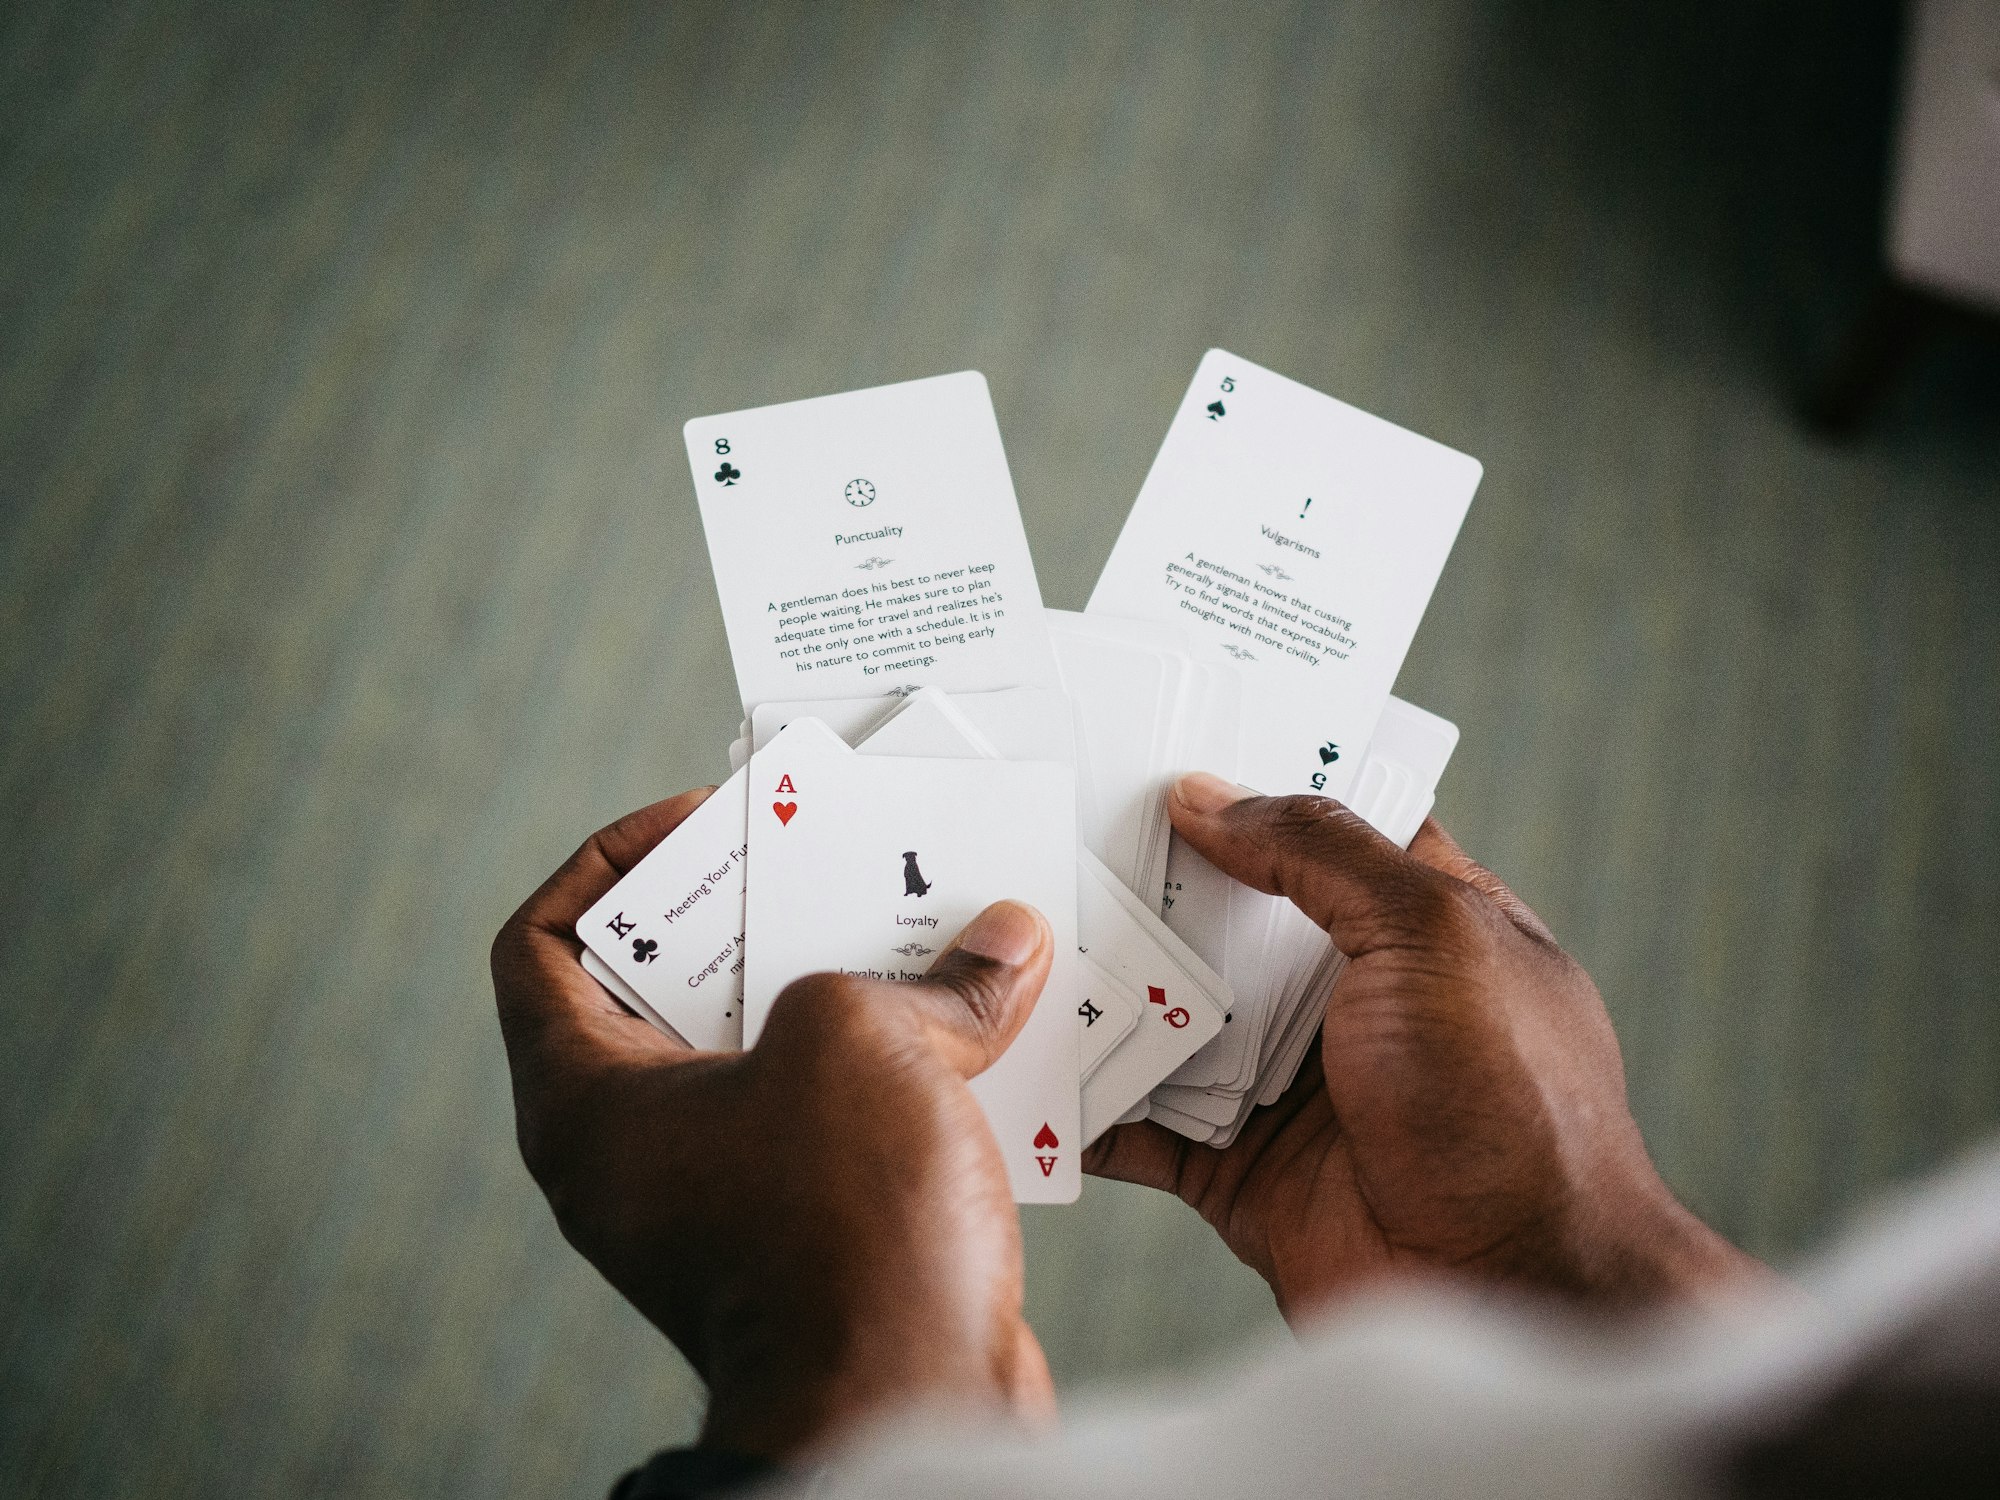
This component is pretty straightforward:
@using BlazorGames.Models.Blackjack;

@code
{
    [Parameter]
    public List<Card> Cards { get; set; }
}

<div>
    @foreach (var card in Cards)
    {
        <BlackjackCard Card="card" />
    }
</div>The Score Component
One of the things we should display is the current "visible" score for both the Player and the Dealer. In order to calculate this score, the component needs to know which player we are calculating for, and the current state of the game, since the score is not known during certain parts (e.g. betting).
Here's the component:
@using BlazorGames.Models.Blackjack;
@using BlazorGames.Models.Blackjack.Enums;

@code {
    [Parameter]
    public GameState State { get; set; }

    [Parameter]
    public Person Player { get; set; }
}

@if (State == GameState.InProgress
     || State == GameState.Dealing
     || State == GameState.Insurance
     || State == GameState.Payout)
{
    <h1 class="display-3 text-info">@Player.ScoreDisplay</h1>
}
The Message Component
While the hand of Blackjack is being played, we will sometimes want to display a message to the user, particularly if the Dealer is shuffling the deck or doing the initial deal. Otherwise, we will display the Player's bet amount.
To do this, the Message component will need to know the current GameState as well as the bet amount. Said component looks like this:
@using BlazorGames.Models.Blackjack.Enums;

@code {
    [Parameter]
    public GameState State { get; set; }

    [Parameter]
    public decimal Bet { get; set; }
}

@if (State == GameState.Dealing)
{
    <span class="display-3 text-info">Dealing...</span>
}
@if (State == GameState.InProgress)
{
    <span class="display-3 text-primary">$@Bet</span>
}
@if (State == GameState.Shuffling)
{
    <span class="display-3 text-info">Shuffling...</span>
}
The Hand Result Component
After the hand is complete, we will need to have a message that shows the result of the hand. Possible results include messages like "Win!", "Lose...", or "Push".

Here's the hand result Blazor component:
@using BlazorGames.Models.Blackjack;

@code {
    [Parameter]
    public Person Player { get; set; }

    [Parameter]
    public Person Dealer { get; set; }
}

@if (Player.HasNaturalBlackjack
     && (Player.Score > Dealer.Score || Dealer.IsBusted))
{
    <h1 class="display-3 text-success">Blackjack!</h1>
}
else if (Player.IsBusted)
{
    <h1 class="display-3 text-danger">Busted...</h1>
}
else if (Dealer.IsBusted || Player.Score > Dealer.Score)
{
    <h1 class="display-3 text-success">Win!</h1>
}
else if (Dealer.Score > Player.Score)
{
    <h1 class="display-3 text-danger">Lose...</h1>
}
else if (Player.Score == Dealer.Score)
{
    <h1 class="display-3 text-info">Push</h1>
}
The Funds Display Component
There's one last little component we want to define before we start build our Blackjack in Blazor game area properly: the funds display component.

This component should show the remaining funds for the player, and when the player wins or loses a hand, should then show the change in funds that results from that win/loss. In order to do this, it must know what value to display for the Funds, and the amount of change that is happening.
Here's the funds display Blazor component:
@code {
    [Parameter]
    public decimal Funds { get; set; }

    [Parameter]
    public decimal Change { get; set; }
}

@{
    string cssClass = "text-success";

    if (Funds < 100 && Funds >= 50)
        cssClass = "text-warning";
    if (Funds < 50)
        cssClass = "text-danger";

    string changeDisplay = "+$" + Change;
    string changeCss = "text-success";

    if(Change < 0M)
    {
        changeDisplay = "-$" + (Change * -1);
        changeCss = "text-danger";
    }
}

<span class="display-3 @cssClass">$@Funds</span>
@if (Change != 0)
{
    <span class="display-3 @changeCss">@changeDisplay</span>
}
It would also be valid to pass an entire Player instance instead of Funds and Change, since both of those properties live in Player.
Building the Blackjack Blazor Component
Now we can build the meat of our Blackjack in Blazor app: the Blackjack.cshtml component.
The Basics
Let's start with a basic Blazor component, which includes the using clauses we need as well as instances of Dealer, Player, and GameState.
@page "/blackjack"

@using BlazorGames.Models.Blackjack;
@using BlazorGames.Models.Blackjack.Enums;
@using BlazorGames.Pages.Partials;

<PageTitle Title="Blackjack" />

@code {
    Dealer dealer = new Dealer(); //Creating a new Dealer also
                                  //creates a new, shuffled CardDeck
    Player player = new Player();

    GameState state = GameState.NotStarted;
}We are going to imagine that our display is divided into nine parts, in roughly a three-by-three grid. Hence, the display is divided like so:

We're going to build each row separately, and then wire up the functionality necessary to make it all work.
Throughout this section, we are going to define method names that will be implemented in the section below entitled "Walking Through the Game".
Top Row - Card Deck, Dealer Hand, Dealer Score
Let's start with a basic outline for the top row of the grid.
<div class="row">
    <div class="col-3">

    </div>
    <div class="col-3">

    </div>
    <div class="col-3">

    </div>
</div>
The upper-middle spot will be the Hand display for the Dealer, and the upper-right spot will be the Score display for the same. We have already coded up Blazor components for these displays, so we can modify our row to include them:
<div class="row">
    <div class="col-3">

    </div>
    <div class="col-3">
        <BlackjackHand Cards="dealer.Cards" />
    </div>
    <div class="col-3">
        <BlackjackScore State="state" Player="dealer" />
    </div>
</div>
The remaining thing we need to do is handle the CardDeck display. The idea is that the less cards that remain in the deck, the less cards are displayed in this spot. We will say that for every 13 cards that remain in the deck, we display one additional card back in the draw spot.
Hence, the code for the CardDeck display looks like this:
<div>
    @{
        int cardCount = dealer.Deck.Count + 1;
    }
    @while (cardCount > 0)
    {
        <div class="blackjack-drawdeck">
            <img src="images/blackjack/cardBack.png" />
        </div>
        cardCount -= 13;
    }
</div>
The Complete Top Row
Put together, the top row of our display looks like the following:
<div class="row">
    <div class="col-3">
        <div>
            @{
                int cardCount = dealer.Deck.Count + 1;
            }
            @while (cardCount > 0)
            {
                <div class="blackjack-drawdeck">
                    <img src="images/blackjack/cardBack.png" />
                </div>
                cardCount -= 13;
            }
        </div>
    </div>
    <div class="col-3">
        <BlackjackHand Cards="dealer.Cards" />
    </div>
    <div class="col-3">
        <BlackjackScore State="state" Player="dealer" />
    </div>
</div>
We can now move on to the middle row.
Middle Row - Player Funds, Status Message
Here's our layout grid again:

As you can see, the middle-right spot on the grid is blank, so we don't need to do anything for that. Further, we already have a Blazor component for both the Player's funds in the middle-left spot and the status message that will appear in the center spot.
Handling the Center Display
However! We have not yet considered the betting phase of the Blackjack hand. During that phase, the display grid looks like this:

Which means that we must have markup and/or code for the buttons that allow the player to make a bet in the center spot.
We are going to allow the player to bet $10, $20, or $50. Since we cannot allow the player to bet more than they have in their Funds, we must display the corresponding buttons only if the player has more than that amount.
The code that displays these buttons is as follows:
@if (state == GameState.Betting)
{
    @if (player.Funds < 10)
    {
        <span class="display-3 text-danger">Out of money!</span>
    }
    @if (player.Funds >= 10)
    {
        <button class="btn btn-primary" @onclick="(() => Bet(10))">
            Bet $10
        </button>
    }
    @if (player.Funds >= 20)
    {
        <button class="btn btn-primary" @onclick="(() => Bet(20))">
            Bet $20
        </button>
    }
    @if (player.Funds >= 50)
    {
        <button class="btn btn-primary" @onclick="(() => Bet(50))">
            Bet $50
        </button>
    }
}The Center Display Messages
In addition to the bet buttons the center spot on the grid also needs to display two different kinds of messages.
- If the hand is over, the center spot displays the Hand Result component.
- If the hand is in progress, or the dealer is shuffling or dealing, the center spot displays the Message component.
The code which shows these components looks like this:
@if (state == GameState.Payout)
{
    <BlackjackHandResult Player="player" Dealer="dealer" />
}
@if(state == GameState.Dealing
    || state == GameState.Shuffling
    || state == GameState.InProgress)
{
    <BlackjackMessage State="state" Bet="player.Bet"/>
}
The Complete Middle Row
Using the code from the last two sections, we can write the markup for the complete middle row of our display:
<div class="row">
    <div class="col-3">
        <BlackjackFunds Funds="player.Funds" Change="player.Change"/>
    </div>
    <div class="col-3">
        @if (state == GameState.Betting)
        {
            @if (player.Funds < 10)
            {
                <span class="display-3 text-danger">Out of money!</span>
            }
            @if (player.Funds >= 10)
            {
                <button class="btn btn-primary" @onclick="(() => Bet(10))">
                    Bet $10
                </button>
            }
            @if (player.Funds >= 20)
            {
                <button class="btn btn-primary" @onclick="(() => Bet(20))">
                    Bet $20
                </button>
            }
            @if (player.Funds >= 50)
            {
                <button class="btn btn-primary" @onclick="(() => Bet(50))">
                    Bet $50
                </button>
            }
        }

        @if (state == GameState.Payout)
        {
            <BlackjackHandResult Player="player" Dealer="dealer" />
        }
        @if(state == GameState.Dealing
            || state == GameState.Shuffling
            || state == GameState.InProgress)
        {
            <BlackjackMessage State="state" Bet="player.Bet"/>
        }
    </div>
</div>
Bottom Row - Player Actions, Player Hand, Player Score
One last time, here's the grid for the Blackjack hand in progress:

The bottom-middle and bottom-right spots are already handled by the Hand and Score components respectively, so let's just worry about the bottom-left spot.
Player Actions
At the start of the game, we should display to the user a "Start Game" button that allows them to begin the game. Once the hand is in the Payout state (meaning the hand is complete), we will also display a button "Keep Going!" that will start a new hand.
@if (state == GameState.NotStarted || player.Funds < 10)
{
    <button class="btn btn-secondary" @onclick="(() => InitializeHand())">
        Start Game
    </button>
}
@if (state == GameState.Payout)
{
    <button class="btn btn-secondary" @onclick="(() => NewHand())">
        Keep Going!
    </button>
}InitializeHand() and NewHand() methods will be implemented in a later section of this post.We also need buttons that are only visible to the user in certain situations. Here are the player actions that we need to implement:
- Hit or Stand - The player may hit or stand if they have not busted, they have not already stood, and the hand is still in progress.
- Double Down - The player may double down if all the Hit or Stand conditions are still true AND the Player has exactly two cards AND the Player has a score of 9, 10, or 11 AND the Player has the available funds to double their bet.
- Insurance - The player may make an Insurance bet if all of the Hit or Stand conditions are still true AND the Dealer has exactly two cards AND the Dealer's visible card is an Ace.
The Complete Bottom Row
Will all of these conditions (and the Hand and Score components), the complete bottom row of the display can now be written:
<div class="row">
    <div class="col-3">
        @if (state == GameState.NotStarted || player.Funds < 10)
        {
            <button class="btn btn-secondary"
                    @onclick="(() => InitializeHand())">
                Start Game
            </button>
        }
        @if (!player.IsBusted
             && state == GameState.InProgress
             && !player.HasStood)
        {
            <button class="btn btn-primary" @onclick="(() => Stand())">
                Stand
            </button>
            <button class="btn btn-primary" @onclick="(() => Hit())">
                Hit
            </button>
            @if (player.Score >= 9
                 && player.Score <= 11
                 && player.Cards.Count == 2
                 && player.Funds >= player.Bet * 2)
            {
                <br />
                <button class="btn btn-warning"
                        @onclick="(() => DoubleDown())">
                    Double Down
                </button>
            }
            @if (dealer.HasAceShowing && !player.HasInsurance)
            {
                <br />
                <button class="btn btn-warning"
                        @onclick="(() => Insurance())">
                    Insurance ($@(player.Bet / 2))
                </button>
            }
        }
        @if (status == GameState.Payout)
        {
            <button class="btn btn-secondary" @onclick="(() => NewHand())">
                Keep Going!
            </button>
        }
    </div>
    <div class="col-3">
        <BlackjackHand Cards="player.Cards" />
    </div>
    <div class="col-3">
        <BlackjackScore State="state" Player="player"/>
    </div>
</div>
The Methods to Implement
After writing the markup for all of the displays, we now must implement the following methods:
InitializeHand()NewHand()Stand()Hit()Insurance()DoubleDown()Bet(int amount)
In addition to these, we must also implement any other methods we require to make our Blackjack game work. Plus, we will run through some demoes of how the game will look. All of that, in the final post of this series!
Summary
In this part of our Blackjack in Blazor series, we continued with our bottom-up design methodology and build several display components, including for the Player or Dealer's scores, game status messages, hand result messages, and a display for the Player's funds.
Through this, we learned what kinds of methods we still need to implement to make our game work. We'll complete the implementation, and test it for a few games, in the next and final part of this series.
Do you have a way you can improve on this implementation? Submit a pull request or let me know in the comments! I am always looking for new ideas and input from my dear readers.
Happy Coding!

